Backup and Restore openHAB on Raspberry Pi
Eiko WagenknechtIn this article, I explain how to back up and restore an openHAB installation on a Raspberry Pi. Backups are essential in case your SD card fails or the system becomes damaged. I present three different methods: complete SD card backup with Win32DiskImager (free), complete backup with Paragon Hard Disk Manager (paid), and backing up only the openHAB configuration with the built-in tool. Each method has its advantages and disadvantages, which I explain in detail. This guide works for both openHAB 2.5.1 and openHAB 3.0.
Table of Contents
- Required Materials
- The Different Approaches
- 1) Complete Backup and Restoration with Win32DiskImager (free)
- 2) Complete Backup and Restoration with Paragon Hard Disk Manager (paid)
- 3) Backup and Restoration of the Configuration with openHAB’s Own Tool (free)
- Optional: Restoring the Static IP Address
- Conclusion
Required Materials
- Raspberry Pi (e.g., as a complete kit from amazon.de (affiliate link), approx. €80)
- microSD card, preferably with 16GB or more storage (e.g., Sandisk Ultra microSDHC 32GB from amazon.de (affiliate link), approx. €7)
- Card reader for the microSD card (e.g., Transcend TS-RDF9K2 from amazon.de (affiliate link), approx. €14)
The Different Approaches
There are essentially two approaches to backing up an openHAB installation on a Raspberry Pi:
A) Complete Backup of the SD Card
Advantages:
- Simple, no deep technical knowledge required
- Everything is backed up; you get an exact 1:1 system state when restoring
- Fast restoration
Disadvantages:
- More time-consuming than a partial backup
- SD card must be removed from the Raspberry Pi
- Larger data volumes per backup (depending on the exact method and size of the SD card, ~3 GB to over 32 GB)
B) Backing Up the openHAB Configuration
Advantages:
- Small data volumes per backup (few megabytes)
- Only restores the configuration, so it can be used for migration to a newer Linux distribution or from a Pi3 to a Pi4
- SD card can remain in the Raspberry Pi
- Can be automated
Disadvantages:
- More effort during restoration
- More complicated to perform
After this brief overview, I’ll now present the methods that I personally use or have used:
1) Complete Backup and Restoration with Win32DiskImager (free)
With the free tool Win32DiskImager, you can back up and restore complete SD cards bit by bit. One disadvantage is that the backup is the same size as the SD card (in my case, 32 GB), regardless of how much space is actually used.
Additionally, the new SD card must be at least the same size. Larger is fine, smaller is not. It’s therefore advisable to have the exact same SD card model as a replacement (or a larger one), since cards with the same stated size (e.g., 32 GB) can vary by a few bytes from manufacturer to manufacturer, which can cause the restoration to fail if the new card is minimally smaller.
Despite the disadvantages, it’s not a bad method since it’s free and simple.
Backup
To create a backup, first log in to the Raspberry Pi via SSH (you can find an explanation in my installation article) and run the command:
sudo shutdown
This allows the system to shut down properly. Wait a few minutes, then remove the SD card from the Raspberry Pi and insert it into your card reader.
If Windows pops up messages suggesting that you should format the card, dismiss them. Windows simply doesn’t recognize the file system because it belongs to Linux.
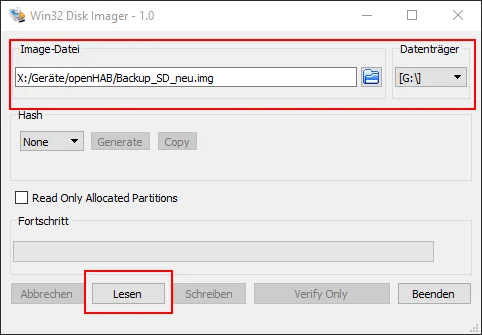
Then start Win32DiskImager and select the drive associated with the SD card on the right. There are probably two entries. Choose the one that is labeled “boot” in Explorer. Even if Explorer only shows a 250 MB partition, the entire SD card will be backed up.
For the image file, specify a new file with the .img extension. Then start the process by clicking “Read.”
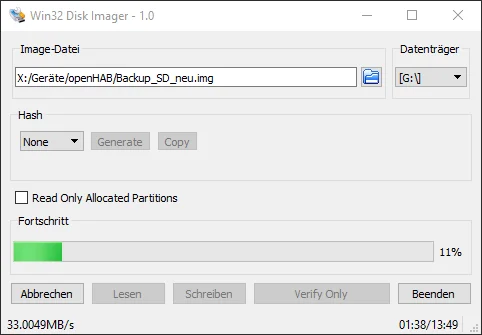
This can take quite some time. For me, it takes about 15 minutes with a 32 GB card. When the progress bar reaches 100 percent, you’re done with the backup.
Restoration
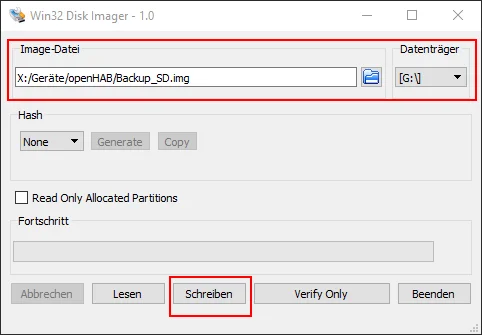
The restoration works exactly like the backup, except that this time you select your backup .img file and then click “Write”:
This also takes a while (about 30 minutes for me with a 32 GB card). Afterward, properly eject the card from Windows using the “Safely Remove Hardware” icon in the taskbar and then reinsert it into your Raspberry Pi.
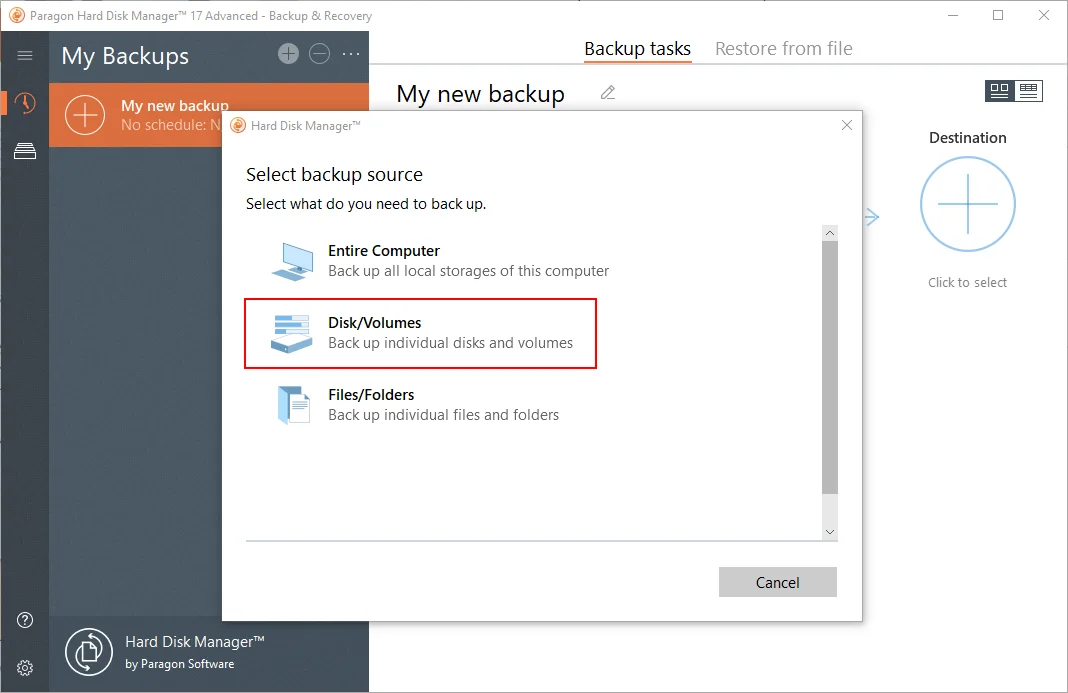
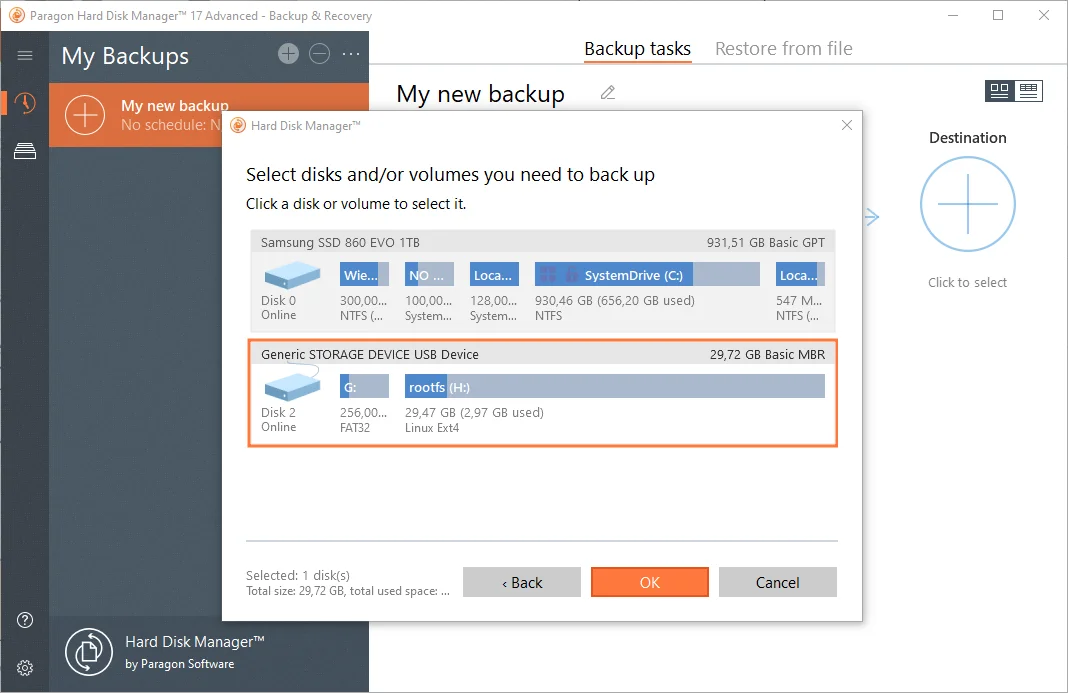
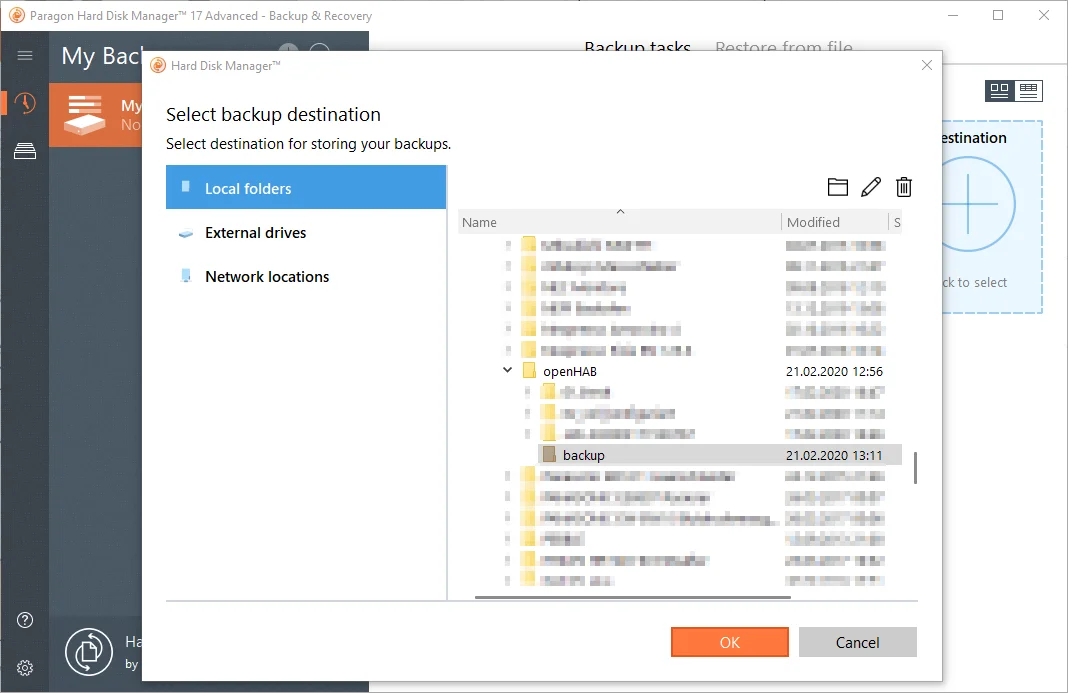
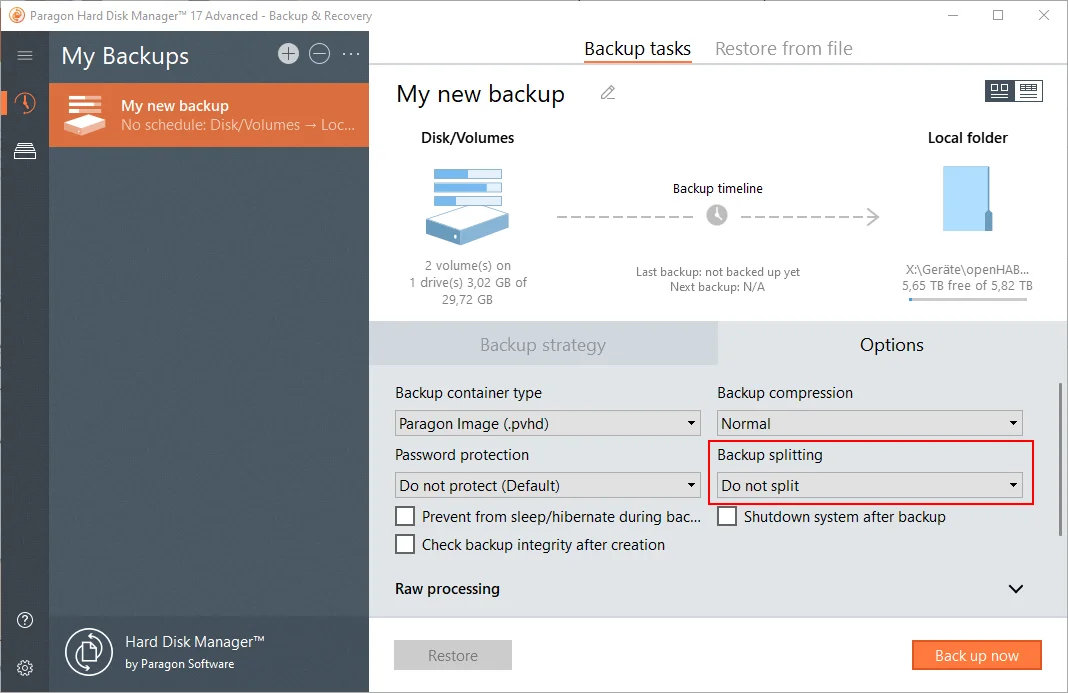
2) Complete Backup and Restoration with Paragon Hard Disk Manager (paid)
It’s a bit more convenient with a paid additional tool, such as Paragon Hard Disk Manager (e.g., on CDROM from amazon.de (affiliate link) for €36 or directly from the manufacturer as a download for €50).
The advantage is that the tool recognizes the file system on the SD card and therefore only backs up areas that actually contain data. The backups are then only 2 GB instead of 32 GB. An additional bonus is that it’s much faster. Of course, less data is being copied. And restoring to SD cards or hard drives of different sizes is also no problem; the partitions are adjusted accordingly.
Caution: There appear to be currently unresolved issues with restoration when not restoring to the same SD card but to a different one (see comments at the bottom). I therefore strongly recommend using the Win32DiskImager method instead!
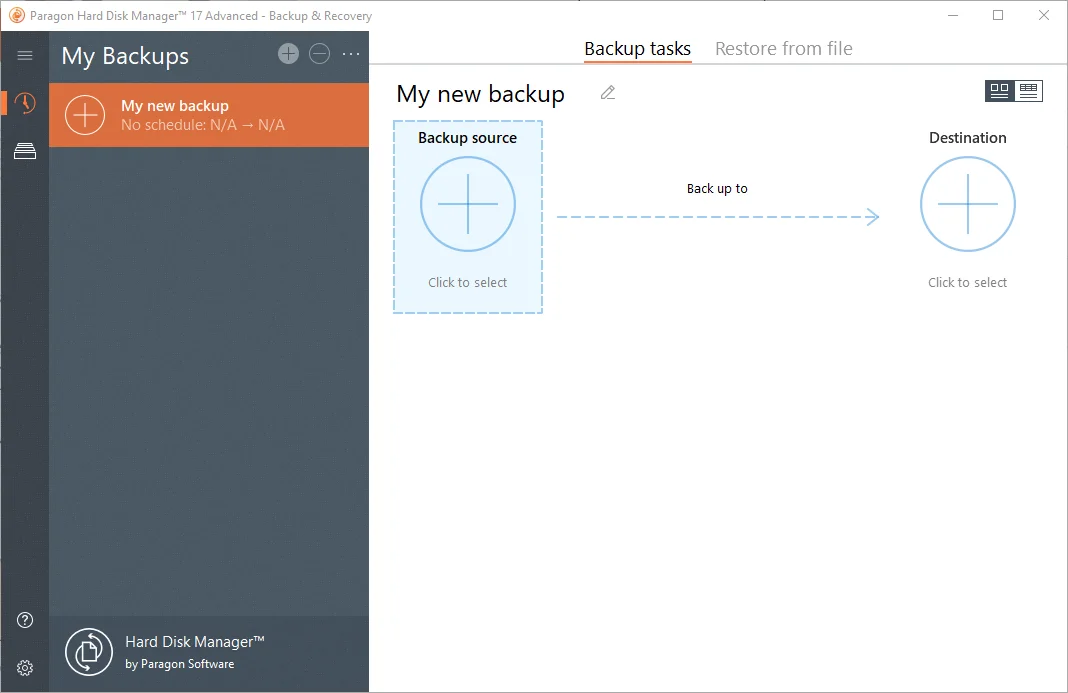
Backup
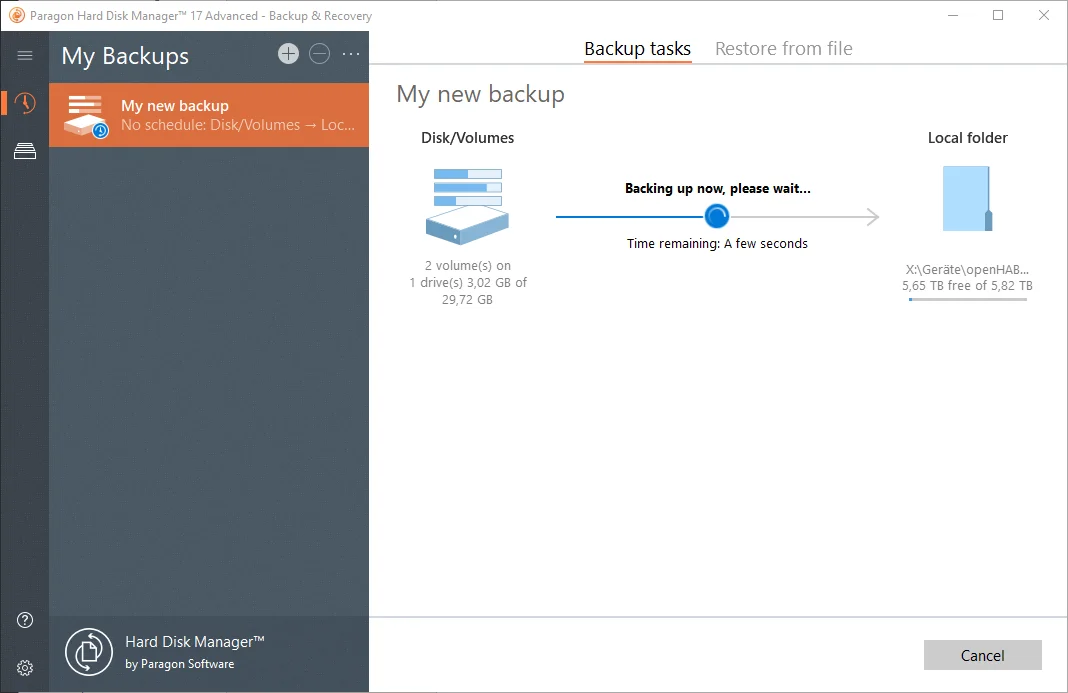
Simply follow the images in the gallery, and you’ll have created a backup in less than a minute. It’s especially important to select the complete SD card. The rest should be self-explanatory.
Restoration
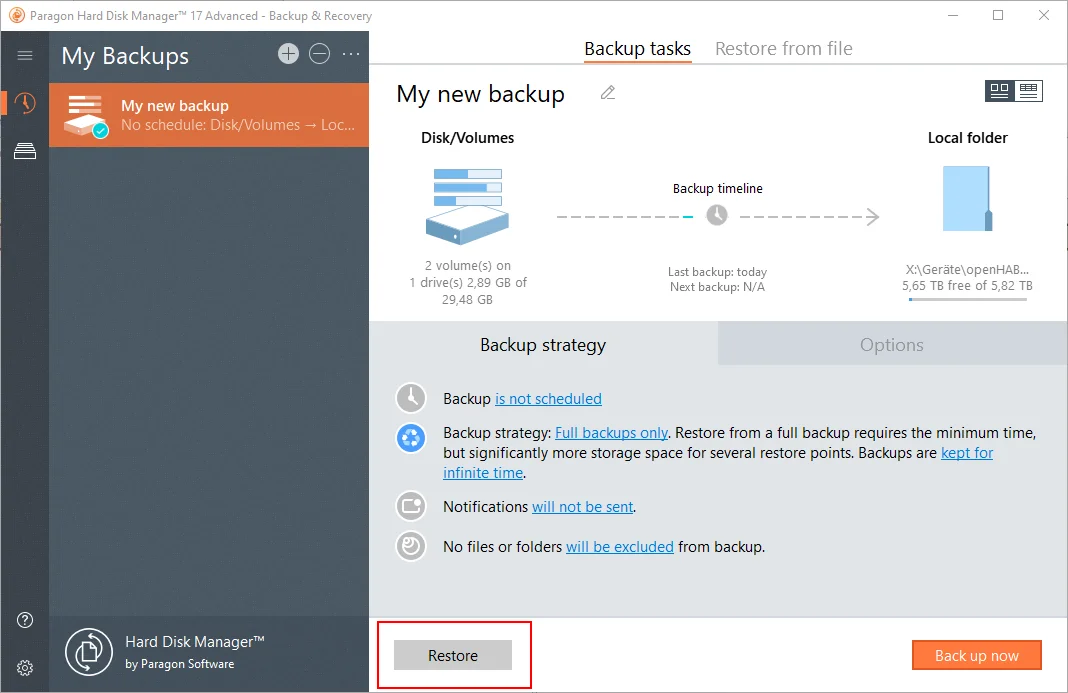
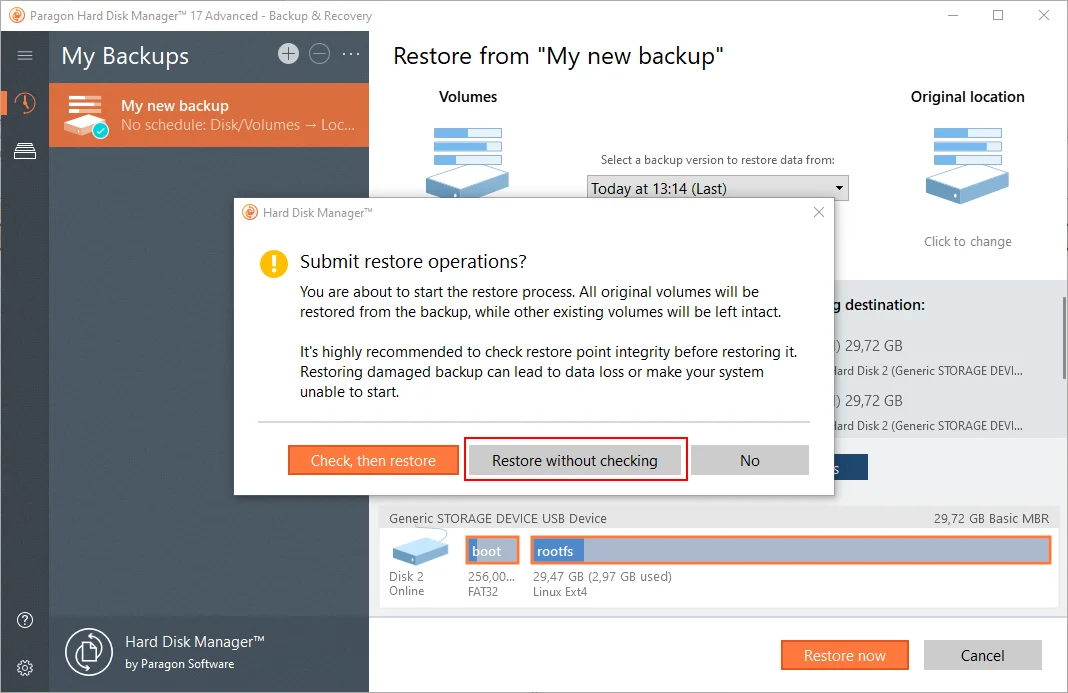
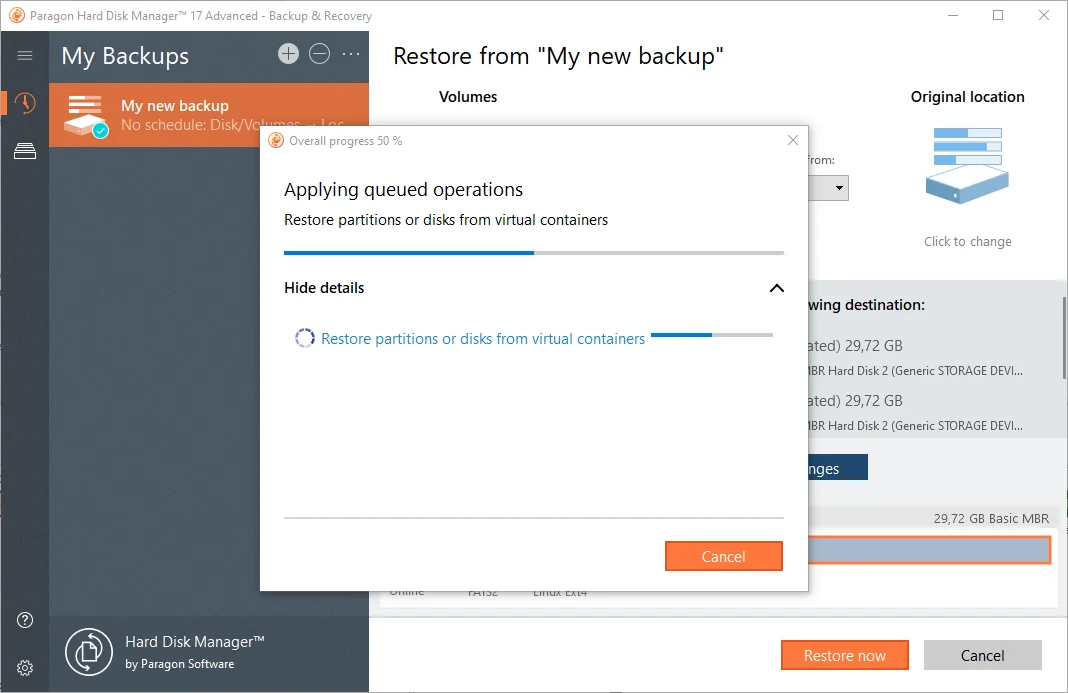
There are no big surprises here either. Just follow the illustrated instructions.

3) Backup and Restoration of the Configuration with openHAB’s Own Tool (free)
Backup
To create a backup, connect to openHAB via SSH (you can find an explanation in my installation article) and run the following command:
sudo $OPENHAB_RUNTIME/bin/backup
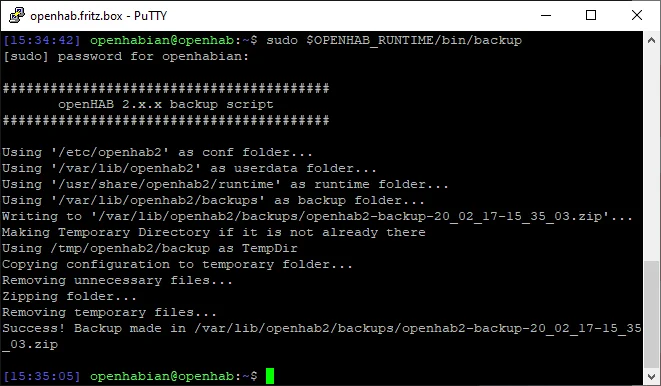
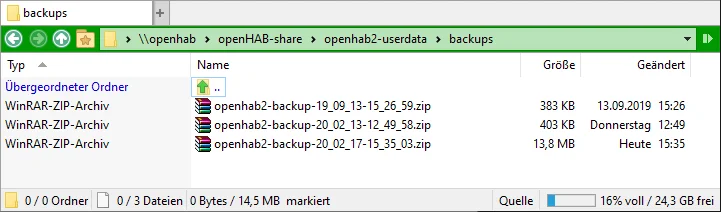
Afterward, you’ll find the backup as a ZIP archive under:
- openHAB2:
\openhab\openHAB-share\openhab2-userdata\backups - openHAB3:
\openhab\openHAB-userdata\backups
Copy the ZIP file to a secure location of your choice, and you’re done.
Automation would be possible, for example, by running the backup script daily via a cron job and copying the file to an attached USB stick. If you’re interested in this, leave a comment, and I’ll describe it in more detail.
Restoration
For restoration, first proceed exactly as if you were setting up a new openHAB system. I’ve described how to do this here for openHAB 2 and here for openHAB 3. Follow the instructions up to the setup of the Karaf / openHAB console. Then you can continue here.
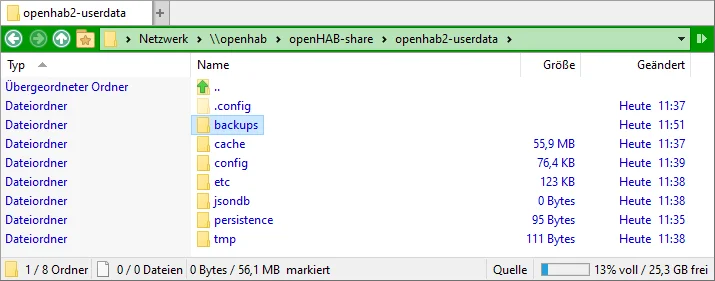
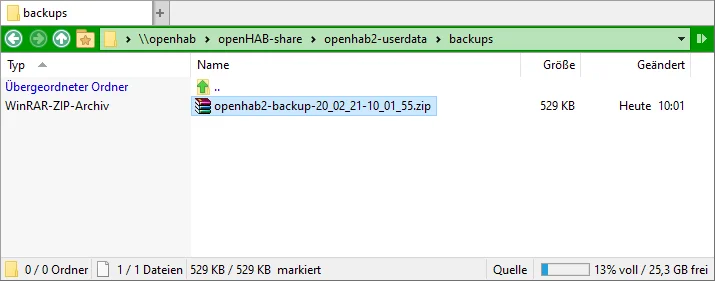
Once the system is running again and accessible from the network, you can transfer the backup file there. To do this, you need to create a folder named “backup” under:
- openHAB2:
\\openhab\openHAB-share\openhab2-userdata - openHAB3:
\\openhab\openHAB-userdata
and copy the file into it.
You should still have an SSH connection to openHAB open from the installation. If not, reconnect. Then run the following commands one after another:
- openHAB 2:
sudo systemctl stop openhab2 - openHAB 3:
sudo systemctl stop openhab

- openHAB 2:
sudo $OPENHAB_RUNTIME/bin/restore $OPENHAB_BACKUPS/openhab2-backup-<DATE>.zip - openHAB 3:
sudo $OPENHAB_RUNTIME/bin/restore $OPENHAB_BACKUPS/openhab-backup-<DATE>.zip
Replace <DATE> with the appropriate value for your file. Note: If you use TAB to auto-complete the paths, the shell adds a backslash \ before the dollar sign $. This will cause the command to fail.
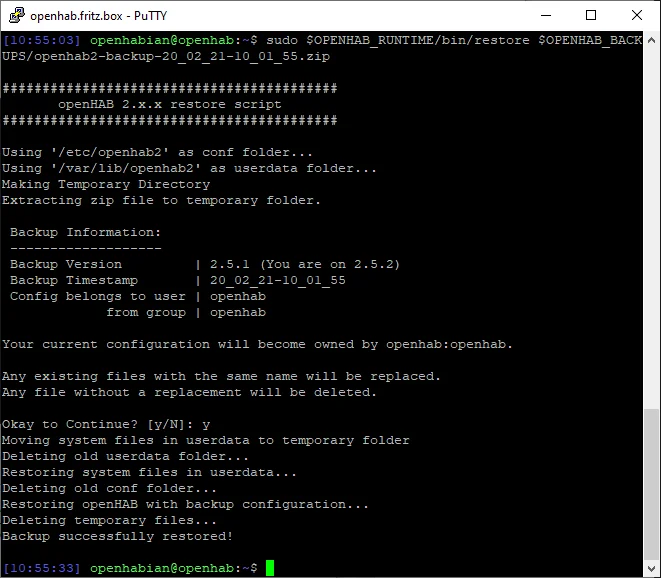
Confirm the prompt with y. A version change to a newer version (as in my case) is generally not a problem, as long as nothing fundamental has changed (Release 2.5.0 was such a case). If in doubt, check the Release Notes carefully and make any necessary adjustments after the restoration.
- openHAB 2:
sudo systemctl start openhab2 - openHAB 3:
sudo systemctl start openhab

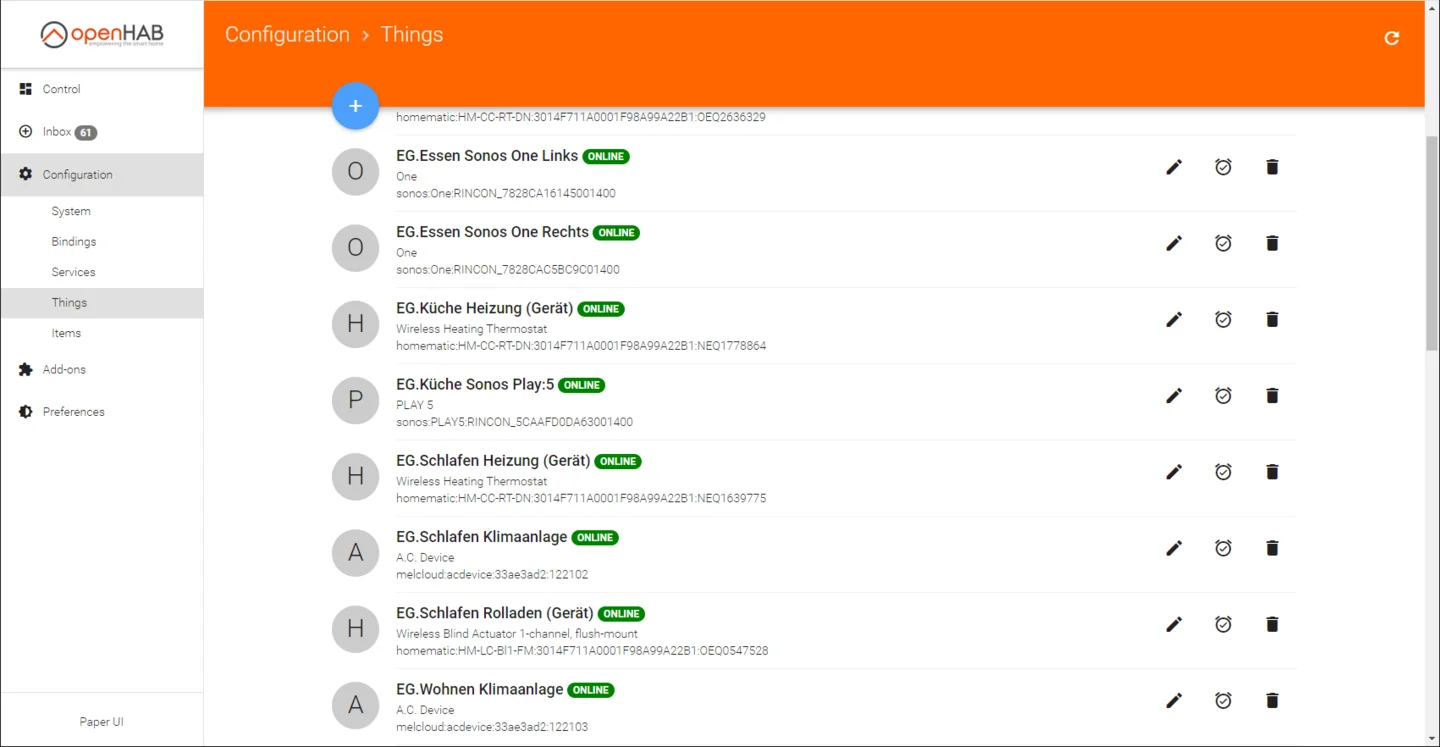
If everything went well, your configuration should now be fully restored, and all devices should immediately show an “Online” status.
Optional: Restoring the Static IP Address
If you use a DHCP-distributed static address for your openHAB installation, you’ll need to reconfigure it if the Raspberry Pi you’re using changes (e.g., because the old one was defective). This also applies when completely restoring from a backup. The reason is that the new Raspberry has a new MAC address and is therefore recognized by the DHCP server as a new device and assigned a different IP address.
However, continuing to use the old IP is highly recommended, as it’s used in various parts of the configuration, and this way, no problems can arise due to the IP change.
In the case of the FritzBox, setup is completed by removing the old configuration (trash can icon under Home Network > Network) and then assigning the same IP address to the new device by checking “Always assign this network device the same IPv4 address.”
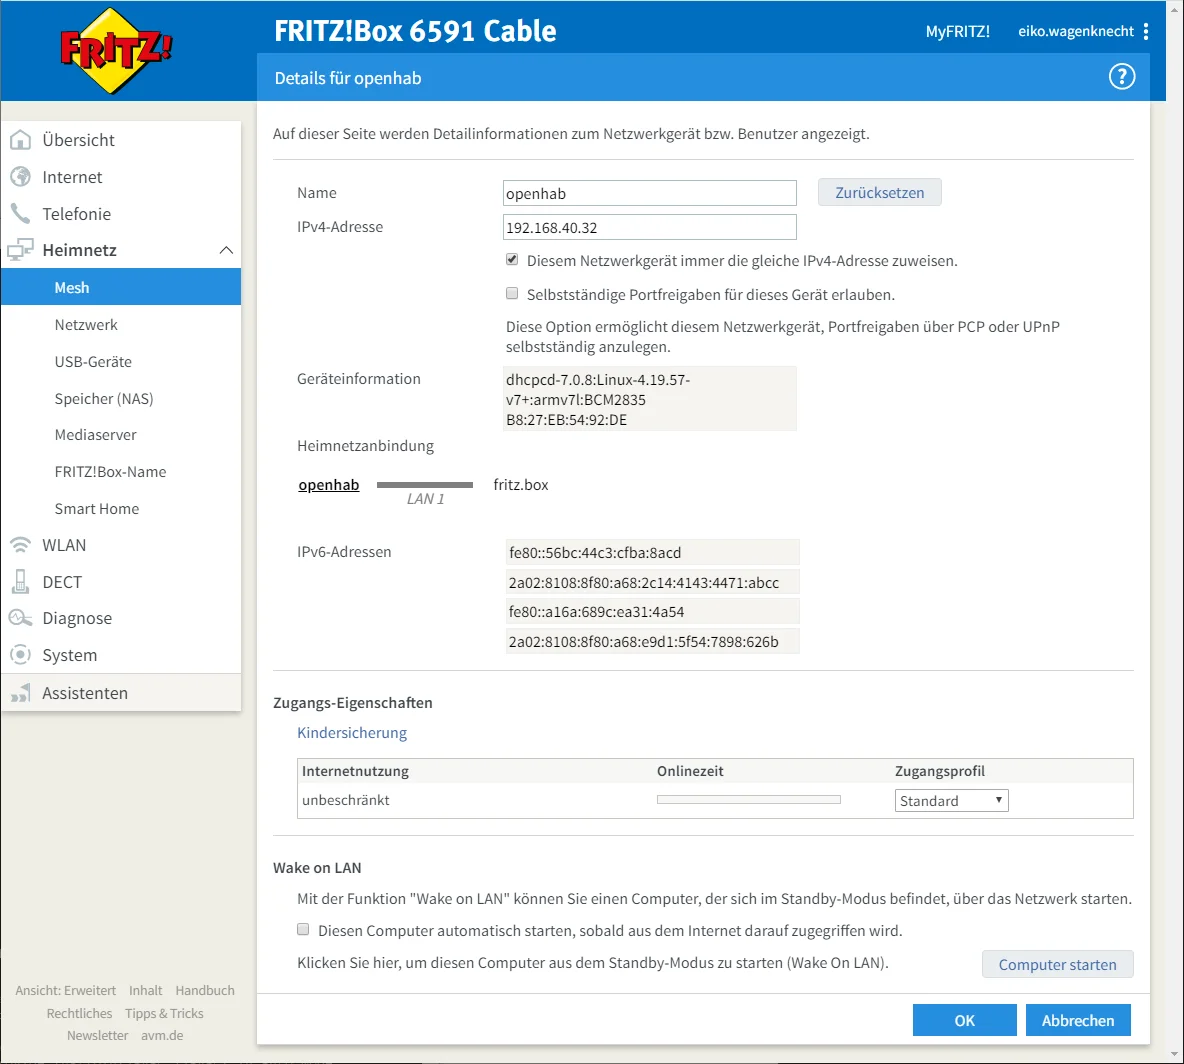
If the FritzBox complains that the address is already assigned, try again after a few minutes; the background update can take a few minutes. If that doesn’t help either, restarting the FritzBox should do the trick.
Conclusion
I’d love to hear your comments about whether this article has helped you. Feel free to write if you have questions or if anything remains unclear. Or if you’ve been able to implement exciting automation projects based on this!
No Comments? No Problem.
This blog doesn't support comments, but your thoughts and questions are always welcome. Reach out through the contact details at the bottom of the page.
Support Me
If you found this page helpful and want to say thanks, you can support me here.