Bridging Modbus to Home Assistant over WiFi with a Raspberry Pi
Eiko WagenknechtI have one device in my home that can only interact with smart home systems via Modbus: An EOS EmoTec D sauna control unit with the additional SMB-Mod adapter.
This device is quite far away from my home assistant server, but WiFi is available. So I decided to use a Raspberry Pi as a bridge between the Modbus device and Home Assistant.
This post describes the setup process. It should be similar for other Modbus devices.
Table of Contents
Hardware
I used the following hardware for this project:
- Raspberry Pi 4 Model B
- USB to RS485 adapter (though today I would probably go with a more premium one like this Waveshare USB to RS485 converter (affiliate link))
Software
I use mbusd as the Modbus bridge.
It’s a lightweight and easy-to-use Modbus TCP to Modbus RTU (RS-232/485) gateway for Linux.
You can find the source code on GitHub.
Installing mbusd
Start with a fresh Raspberry Pi OS installation. You can follow my guide on How to set up a Raspberry Pi with automatic updates and SD card checks.
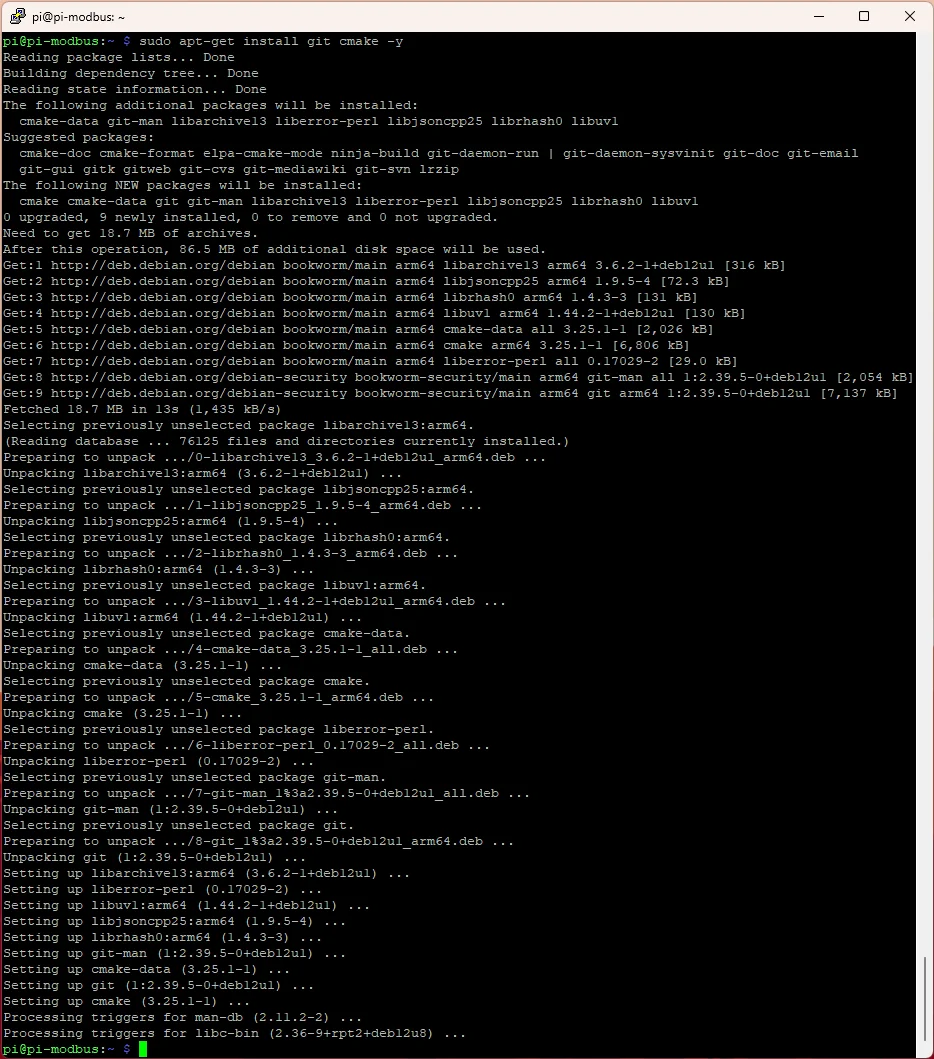
Now install the required software (git and cmake):
sudo apt-get install git cmake -y
Create a new directory for the Modbus bridge:
mkdir ~/modbus
cd ~/modbus
Clone the mbusd repository:
git clone https://github.com/3cky/mbusd.git mbusd.git
cd mbusd.git
Now build the mbusd software:
mkdir -p build
cd build
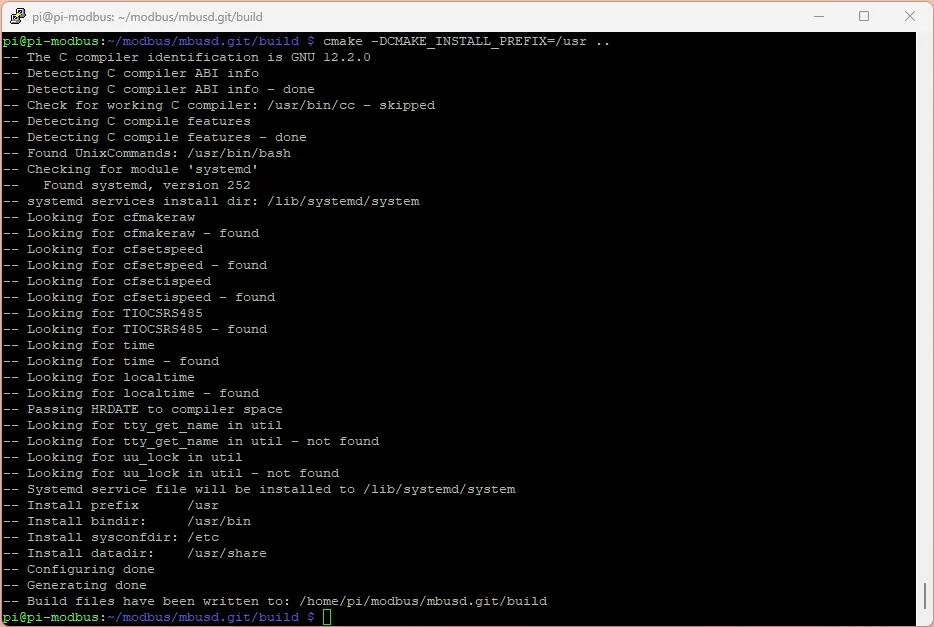
cmake -DCMAKE_INSTALL_PREFIX=/usr ..
make
sudo make install


Now copy over the default configuration file:
sudo cp /etc/mbusd/mbusd.conf.example /etc/mbusd/mbusd-ttyUSB0.confDepending on your setup, the device might be on a different USB port. You can check with:
ls /dev/ttyUSB*Edit the configuration file:
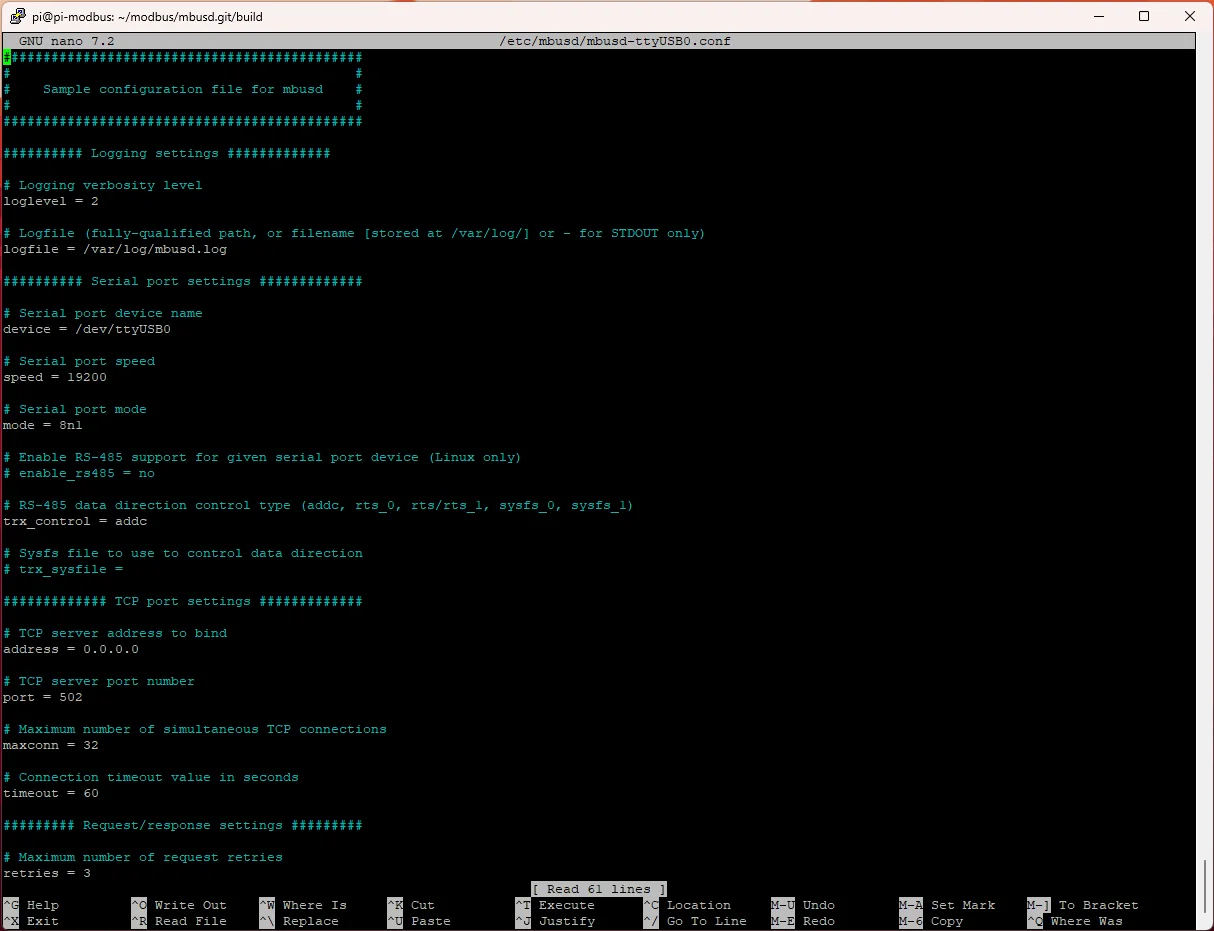
sudo nano /etc/mbusd/mbusd-ttyUSB0.confNow this depends on your Modbus device. For my EOS EmoTec D, I just changed the following settings:
# Serial port device name
device = /dev/ttyUSB0

# Serial port speed
speed = 19200
Now start the mbusd service:
sudo systemctl start mbusd@ttyUSB0To start the service on boot:
sudo systemctl enable mbusd@ttyUSB0You can check the logs with:
journalctl -u [email protected] -f -n 10For debugging, you can also run the service in the foreground. Stop the service first and then run it with debug parameters:
sudo systemctl stop mbusd@ttyUSB0
sudo mbusd -d -v9 -L- -c /etc/mbusd/mbusd-ttyUSB0.conf -p /dev/ttyUSB0
Optional: Debugging the Modbus connection with minimalmodbus
If you have problems with finding the right parameters for your Modbus device, you can use the Python library minimalmodbus to debug the connection.
Install the library. The following commands are for a global installation, but you can also use a virtual environment if you prefer:
sudo apt-get install python-pip
sudo pip install -U minimalmodbus
Then you can use the following Python script to read the registers of your Modbus device:
# testmodbus.py
import minimalmodbus

instrument = minimalmodbus.Instrument('/dev/ttyUSB0', 247) # port name, slave address (in decimal)

print(instrument)
Here’s an example of reading the version and temperature sensors from my EOS EmoTec D with the register numbers found in the manual:
version = instrument.read_register(1, 0) # Registernumber, number of decimals

print(version)

temperature = instrument.read_register(4, 0)

print(temperature)
Running it with python testmodbus.py will output the version and temperature values to the console.
Connecting to Home Assistant sensors
In Home Assistant, you can now add the Modbus sensors.
The exact configuration depends on your Modbus device.
To give you an idea, here’s how I added the sensors from my EOS EmoTec D:
# Modbus Sauna
modbus:
  - name: "pi_sauna"
    timeout: 4
    type: tcp
    host: 192.168.1.123
    port: 502
    sensors:
      - name: "sauna_firmwareversion"
        unique_id: "sauna_firmwareversion"
        slave: 247
        address: 1
        scan_interval: 360
        data_type: int16

      - name: "sauna_temperatur_aktuell_raw"
        unique_id: "sauna_temperatur_aktuell_raw"
        slave: 247
        address: 4
        scan_interval: 5
        data_type: int16
        unit_of_measurement: °C

      - name: "sauna_leuchte_kabine_helligkeit"
        unique_id: "sauna_leuchte_kabine_helligkeit"
        slave: 247
        address: 150
        scan_interval: 5
        data_type: int16

      - name: "sauna_temperatur_ziel"
        unique_id: "sauna_temperatur_ziel"
        slave: 247
        address: 151
        scan_interval: 5
        data_type: int16
        unit_of_measurement: °C
    switches:
      - name: "sauna_ofen_an_aus"
        unique_id: "sauna_ofen_an_aus"
        slave: 247
        address: 101
        command_on: 1
        command_off: 0
        scan_interval: 5
        verify:

      - name: "sauna_leuchte_kabine_an_aus"
        unique_id: "sauna_leuchte_kabine_an_aus"
        slave: 247
        address: 100
        command_on: 1
        command_off: 0
        scan_interval: 5
        verify:
In this case, some more sensors are needed for mapping the values correctly to the Home Assistant entities.
# The light is split up in a switch and a brightness sensor on the Modbus side.
# This template light combines them into a single entity.
light:
  - platform: template
    lights:
      sauna_leuchte_kabine:
        unique_id: "sauna_leuchte_kabine"
        friendly_name: "Sauna Leuchte Kabine"
        availability_template: >-
          {{ not states('sensor.sauna_leuchte_kabine_helligkeit') in [None, 'unknown', 'unavailable'] }}
        level_template: >-
          {{ ((states('sensor.sauna_leuchte_kabine_helligkeit') | int(0)) * 255 / 100) | int }}
        value_template: >-
          {{ is_state('switch.sauna_leuchte_kabine_an_aus', 'on') }}
        turn_on:
          action: switch.turn_on
          data:
            entity_id: switch.sauna_leuchte_kabine_an_aus
        turn_off:
          action: switch.turn_off
          data:
            entity_id: switch.sauna_leuchte_kabine_an_aus
        set_level:
          action: modbus.write_register
          data:
            hub: "pi_sauna"
            slave: 247
            address: 150
            value: "{{ (brightness / 255 * 100) | int }}"

# The temperature sensor needs a template to convert the raw value to a temperature
template:
  - sensor:
      - unique_id: "sauna_temperatur_aktuell"
        name: "sauna_temperatur_aktuell"
        unit_of_measurement: "°C"
        state: >-
          {% set raw_temp = states('sensor.sauna_temperatur_aktuell_raw') %}
          {% if raw_temp in [None, 'unknown', 'unavailable'] %}
            unknown
          {% else %}
            {% set temp_value = raw_temp | int %}
            {{ temp_value if temp_value <= 127 else temp_value - 256 }}
          {% endif %}
No Comments? No Problem.
This blog doesn't support comments, but your thoughts and questions are always welcome. Reach out through the contact details at the bottom of the page.
Support Me
If you found this page helpful and want to say thanks, you can support me here.
