Control Homematic Thermostats with Google Assistant, Amazon Alexa and Apple HomeKit
Eiko WagenknechtWant to control your Homematic thermostats with Google Assistant, Amazon Alexa, or Apple HomeKit? This detailed guide shows how to use the free openHAB software to integrate your Homematic heating thermostats with the most popular voice assistants for convenient voice control.
Table of Contents
- Required Materials
- Prerequisites
- 1) Preparing openHAB
- 2) Configuring the Homematic Binding
- 3) Configuring the Apple HomeKit Integration
- 4) Configuring the Google Assistant Add-on
- 5) Configuring the Amazon Alexa Add-on
- 6) Setting up the Devices in openHAB
- 7) Configuring a Rule in openHAB
- 8) Making the Devices Known to the Smart Assistants
- Conclusion
Required Materials
- Homematic heating thermostat (e.g., HM-CC-RT-DN at amazon.de (affiliate link), approx. €40 or HMIP-eTRV-2 at amazon.de (affiliate link), approx. €45)
- Homematic CCU3 (e.g., at amazon.de (affiliate link), approx. €140)
- Raspberry Pi with OpenHAB (e.g., at amazon.de (affiliate link) as a complete kit, approx. €80)
- Optional: Homematic switch (e.g., wireless wall switch at amazon.de (affiliate link), approx. €39)
Prerequisites
I assume that you have already installed and configured a Homematic CCU3 (or alternatively Raspberrymatic). You should also have the Raspberry Pi with OpenHAB already set up. If you would like instructions for this, please let me know in the comments.
At the time of writing this article, I’m using Raspberrymatic version 3.49.17.20200131 and openHAB version 2.5.1.
1) Preparing openHAB
If you haven’t done so already, you first need to install and configure the Homematic Binding (Documentation) in openHAB. In the PaperUI interface, you can find it under Add-ons > Bindings > Homematic Binding.
If you want to use HomeKit, you’ll need the HomeKit Integration (Documentation) in openHAB. In PaperUI, it’s available for installation under Add-ons > Misc > HomeKit Integration.
For Google Assistant, you’ll use the Google Assistant Action (Documentation), which requires the openHAB Cloud Connector as a prerequisite (Documentation). In PaperUI, this is available under Add-ons > Misc > openHAB Cloud Connector.
Amazon’s Alexa uses the Amazon Alexa Smart Home Skill (Documentation) and also requires the openHAB Cloud Connector, just like Google Assistant.
More detailed installation instructions can be found on the linked pages. Feel free to ask if you have any issues with the installation.
2) Configuring the Homematic Binding
I’ve described the configuration of the Homematic Binding in another post.
3) Configuring the Apple HomeKit Integration
Here’s the corresponding official documentation.
4) Configuring the Google Assistant Add-on
And here’s the documentation for this.
5) Configuring the Amazon Alexa Add-on
To integrate Amazon Alexa with openHAB, you need to install the Alexa skill. After clicking “Enable” and logging in (or creating) your myopenhab.org account, you’ll need to approve the permissions:
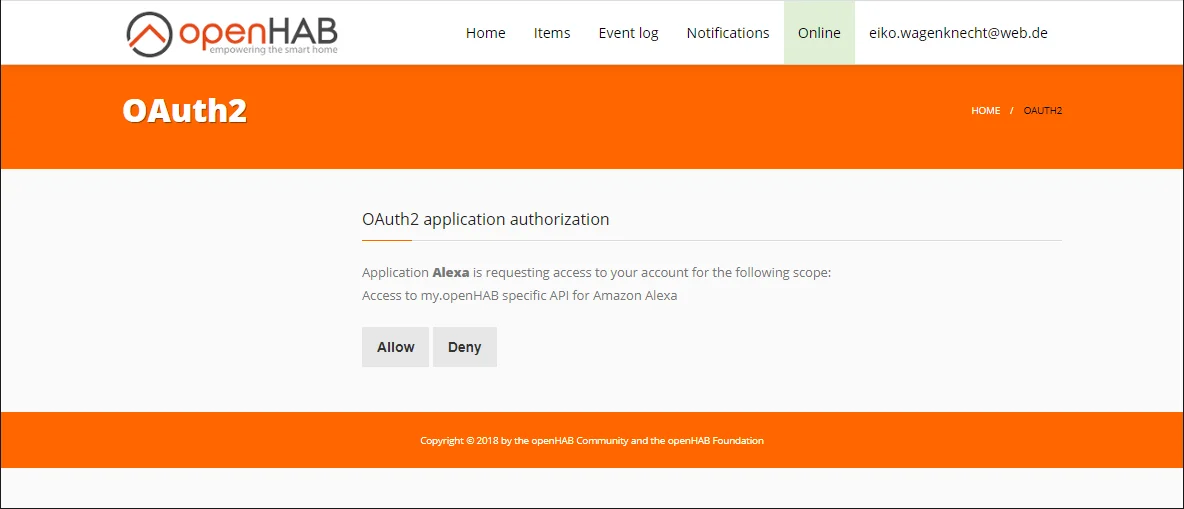
That’s it! Properly configured devices are now immediately visible in Alexa. You can now start configuring the devices.
After adding devices, you may need to trigger device discovery again with “Alexa, discover my devices.”
6) Setting up the Devices in openHAB
Now let’s get to the actual part for the heating thermostats. Among the numerous devices that appeared in your Inbox in step 2 (accessible in the standard configuration at https://openhab:8443/paperui/index.html#/inbox/search) are the Homematic thermostats:
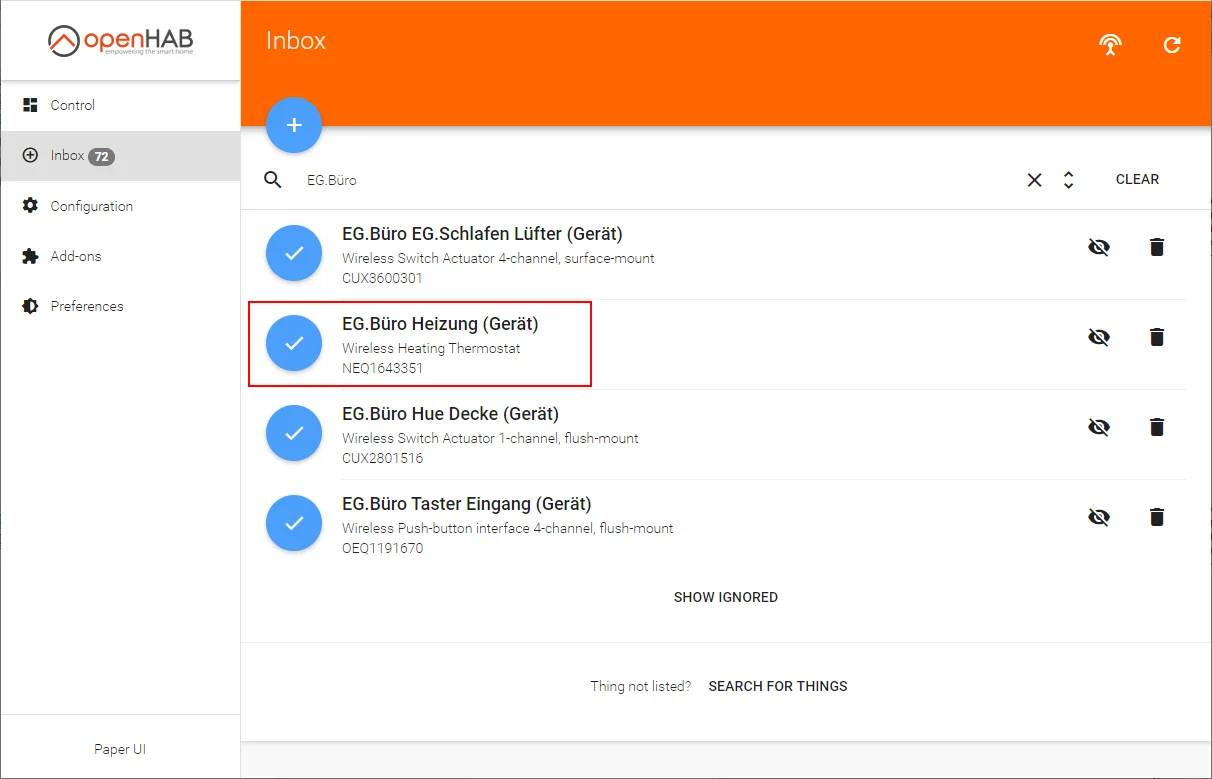
Click on the checkmark to add the device. You can change the name if you want, but it’s not required. Even umlauts are correctly supported.
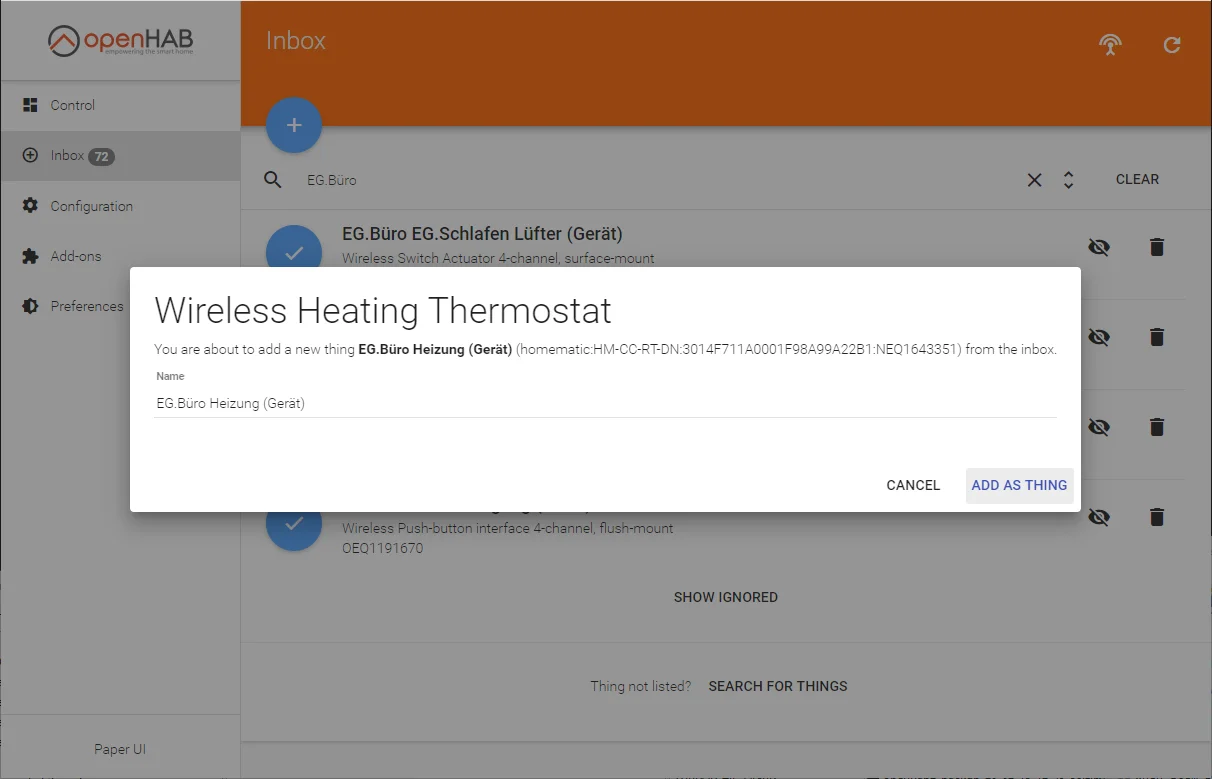
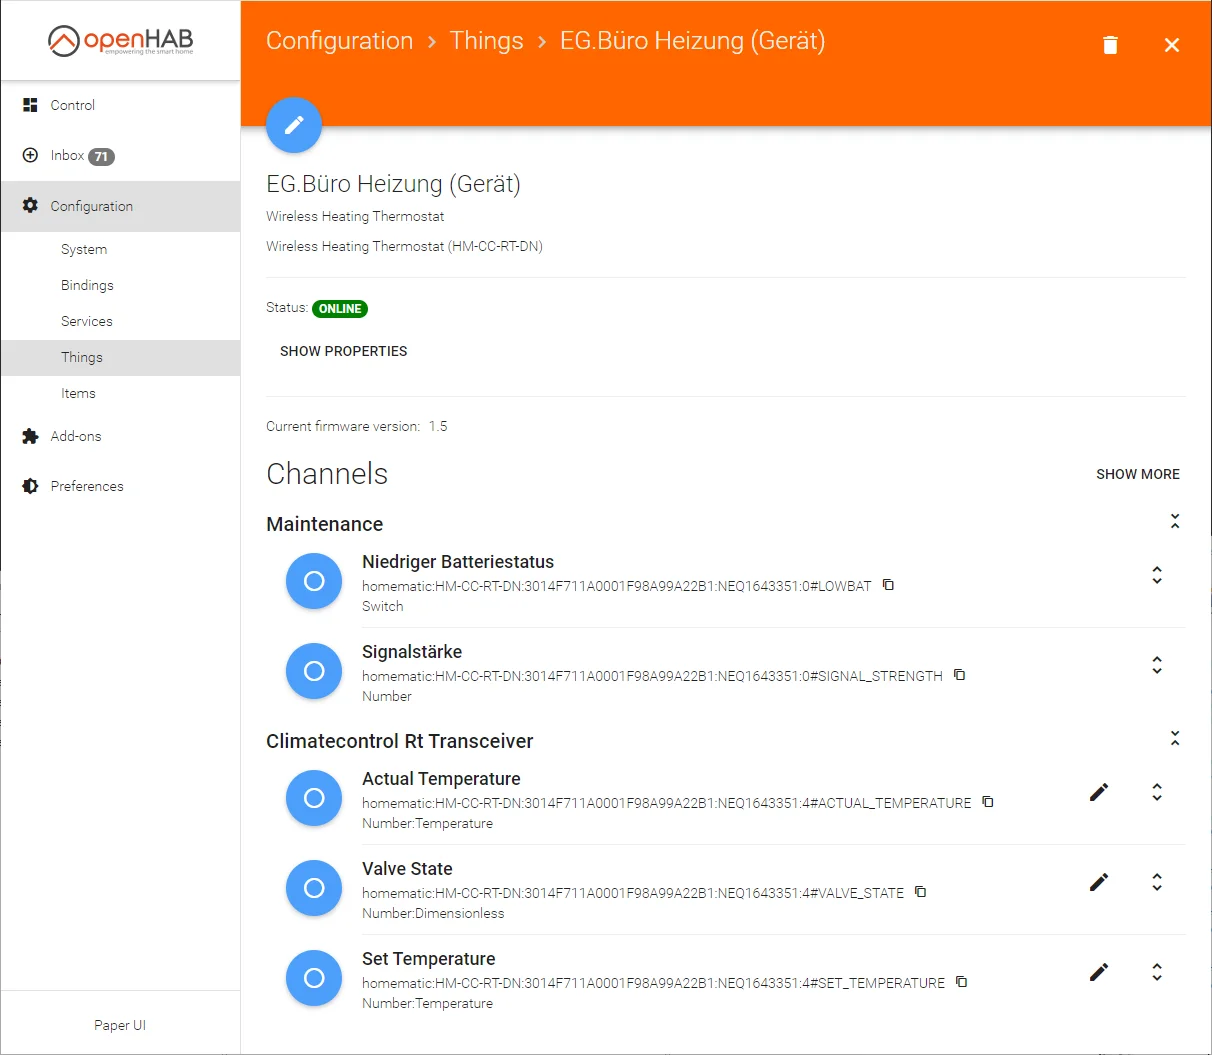
After adding the device, you’ll be asked if you want to configure the new “Thing” right away. If you click on it, you’ll see the available channels that the device offers. For heating control, we’ll be using “Actual Temperature” and “Set Temperature.” Under “Show more” there are many more values, but these aren’t relevant for us at the moment.
Unfortunately, we can’t set up the channels at this point because the configuration in the graphical interface doesn’t offer enough options. Instead, we’ll use configuration files, which provide more possibilities.
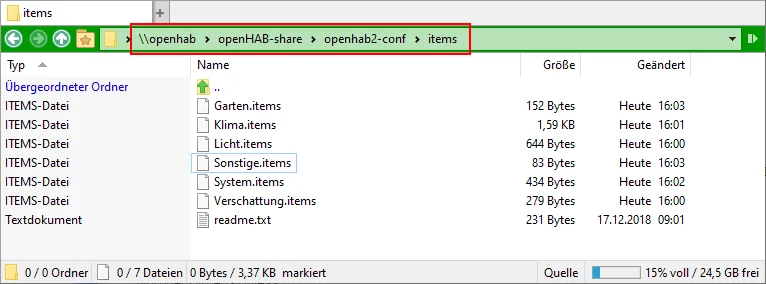
Under the network share \openhab\openHAB-share\openhab2-conf\items (username: openhabian), it’s sufficient to create a new text file with any name and make your entries there. openHAB will evaluate these as soon as you save them. The entries can also be split into multiple files. Here’s what my current setup looks like:
Now we’ll add a new “Heizung.items” file with the following content. Essentially, we’re defining a group “g_Buero_Heizung” with 3 elements: current temperature, target temperature, and operating mode. In our case, the operating mode is always “heating,” but it’s still needed for the integrations to work smoothly.
Group g_Buero_Heizung "Büro Heizung"  [ "Thermostat" ] { ga="Thermostat", alexa="Endpoint.Thermostat" }

   Number:Temperature Buero_Heizung_Temperatur "Aktuelle Temperatur [%.1f °C]" (g_Buero_Heizung) [ "CurrentTemperature" ] { ga="thermostatTemperatureAmbient", alexa="TemperatureSensor.temperature" }

   Number:Temperature Buero_Heizung_TemperaturZiel "Gesetzte Temperatur [%.1f °C]" (g_Buero_Heizung) [ "homekit:TargetTemperature" ] { ga="thermostatTemperatureSetpoint", alexa="ThermostatController.targetSetpoint" }

   String Buero_Heizung_Modus "Betriebsmodus" (g_Buero_Heizung) [ "homekit:TargetHeatingCoolingMode", "homekit:CurrentHeatingCoolingMode" ] { ga="thermostatMode" [ modes="heat" ], alexa="ThermostatController.thermostatMode" [HEAT="heat"]}
The entries in square brackets are for Apple HomeKit, while the entries in curly braces are for Amazon Alexa (“alexa=…”) and Google Assistant (“ga=…”).
Now we assign these new items to the channels of the heating Thing in the interface:

Similarly, the item “Buero_Heizung_TemperaturZiel” is used for the “Set Temperature” channel.
7) Configuring a Rule in openHAB
To ensure that the operating mode remains set to “Heating” even after an openHAB restart, we need to set up a corresponding rule that runs when the system starts. Here again, it’s sufficient to place a file with the appropriate content on the openHAB, this time under \openhab\openHAB-share\openhab2-conf\rules, e.g., with the name Startup.rules, containing the following:
rule "Started"
when System started
then
  Buero_Heizung_Modus.postUpdate("heat")
end
8) Making the Devices Known to the Smart Assistants
That’s it! Now you just need to make the device known to the smart assistants.
In Apple’s HomeKit, the device is directly visible and only needs to be assigned to the correct room.
Amazon’s Alexa needs the command “Discover my devices” once, and then the thermostat can be assigned to a room.
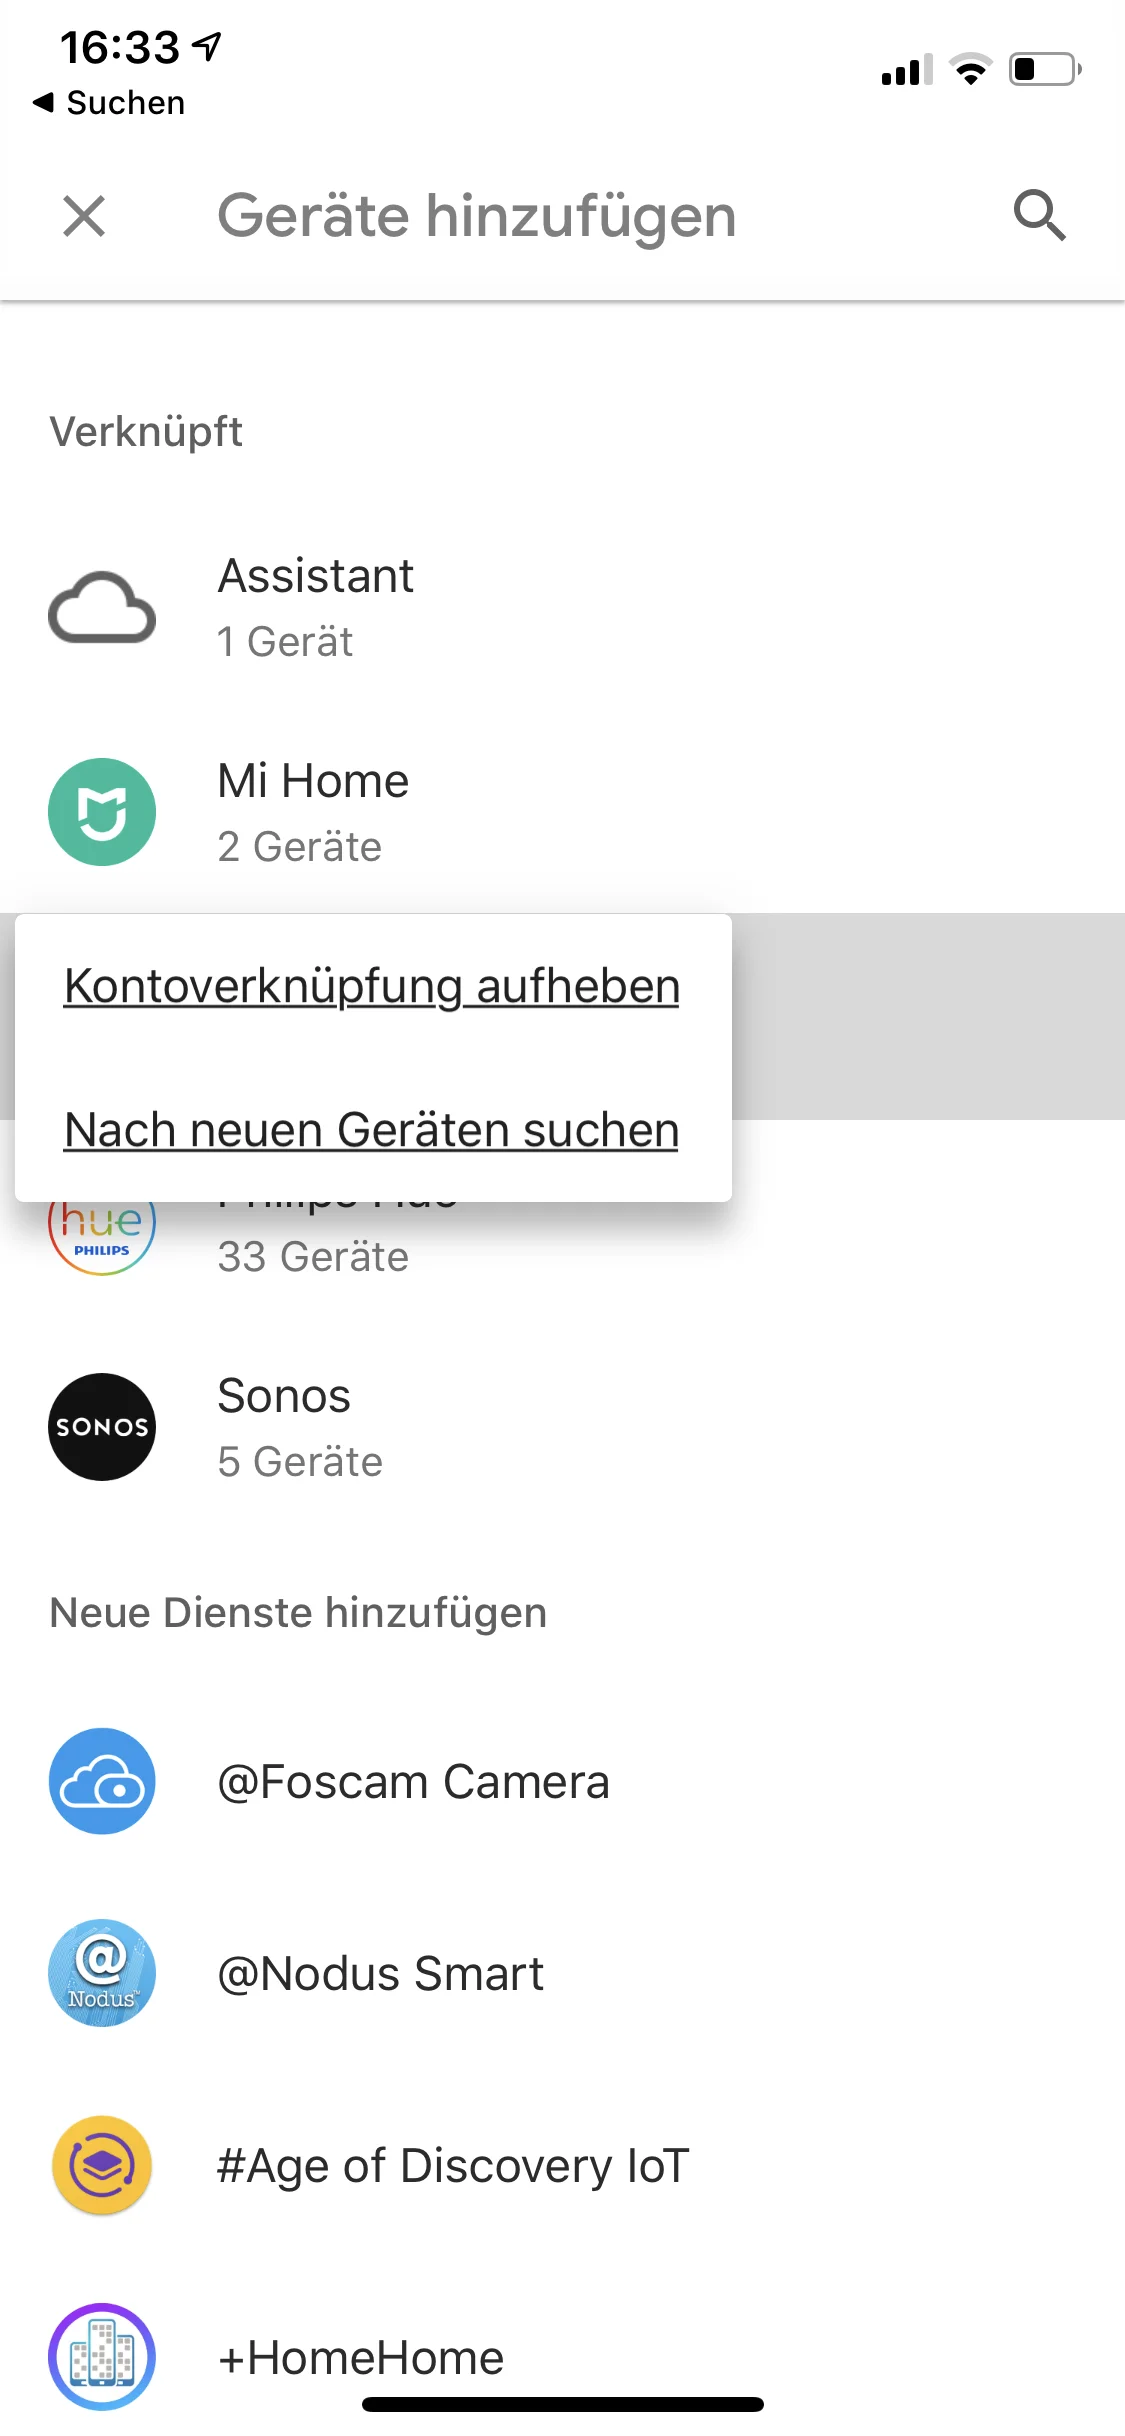
Google’s Assistant needs a little nudge to find the device:
- Start the Google Home app on your smartphone
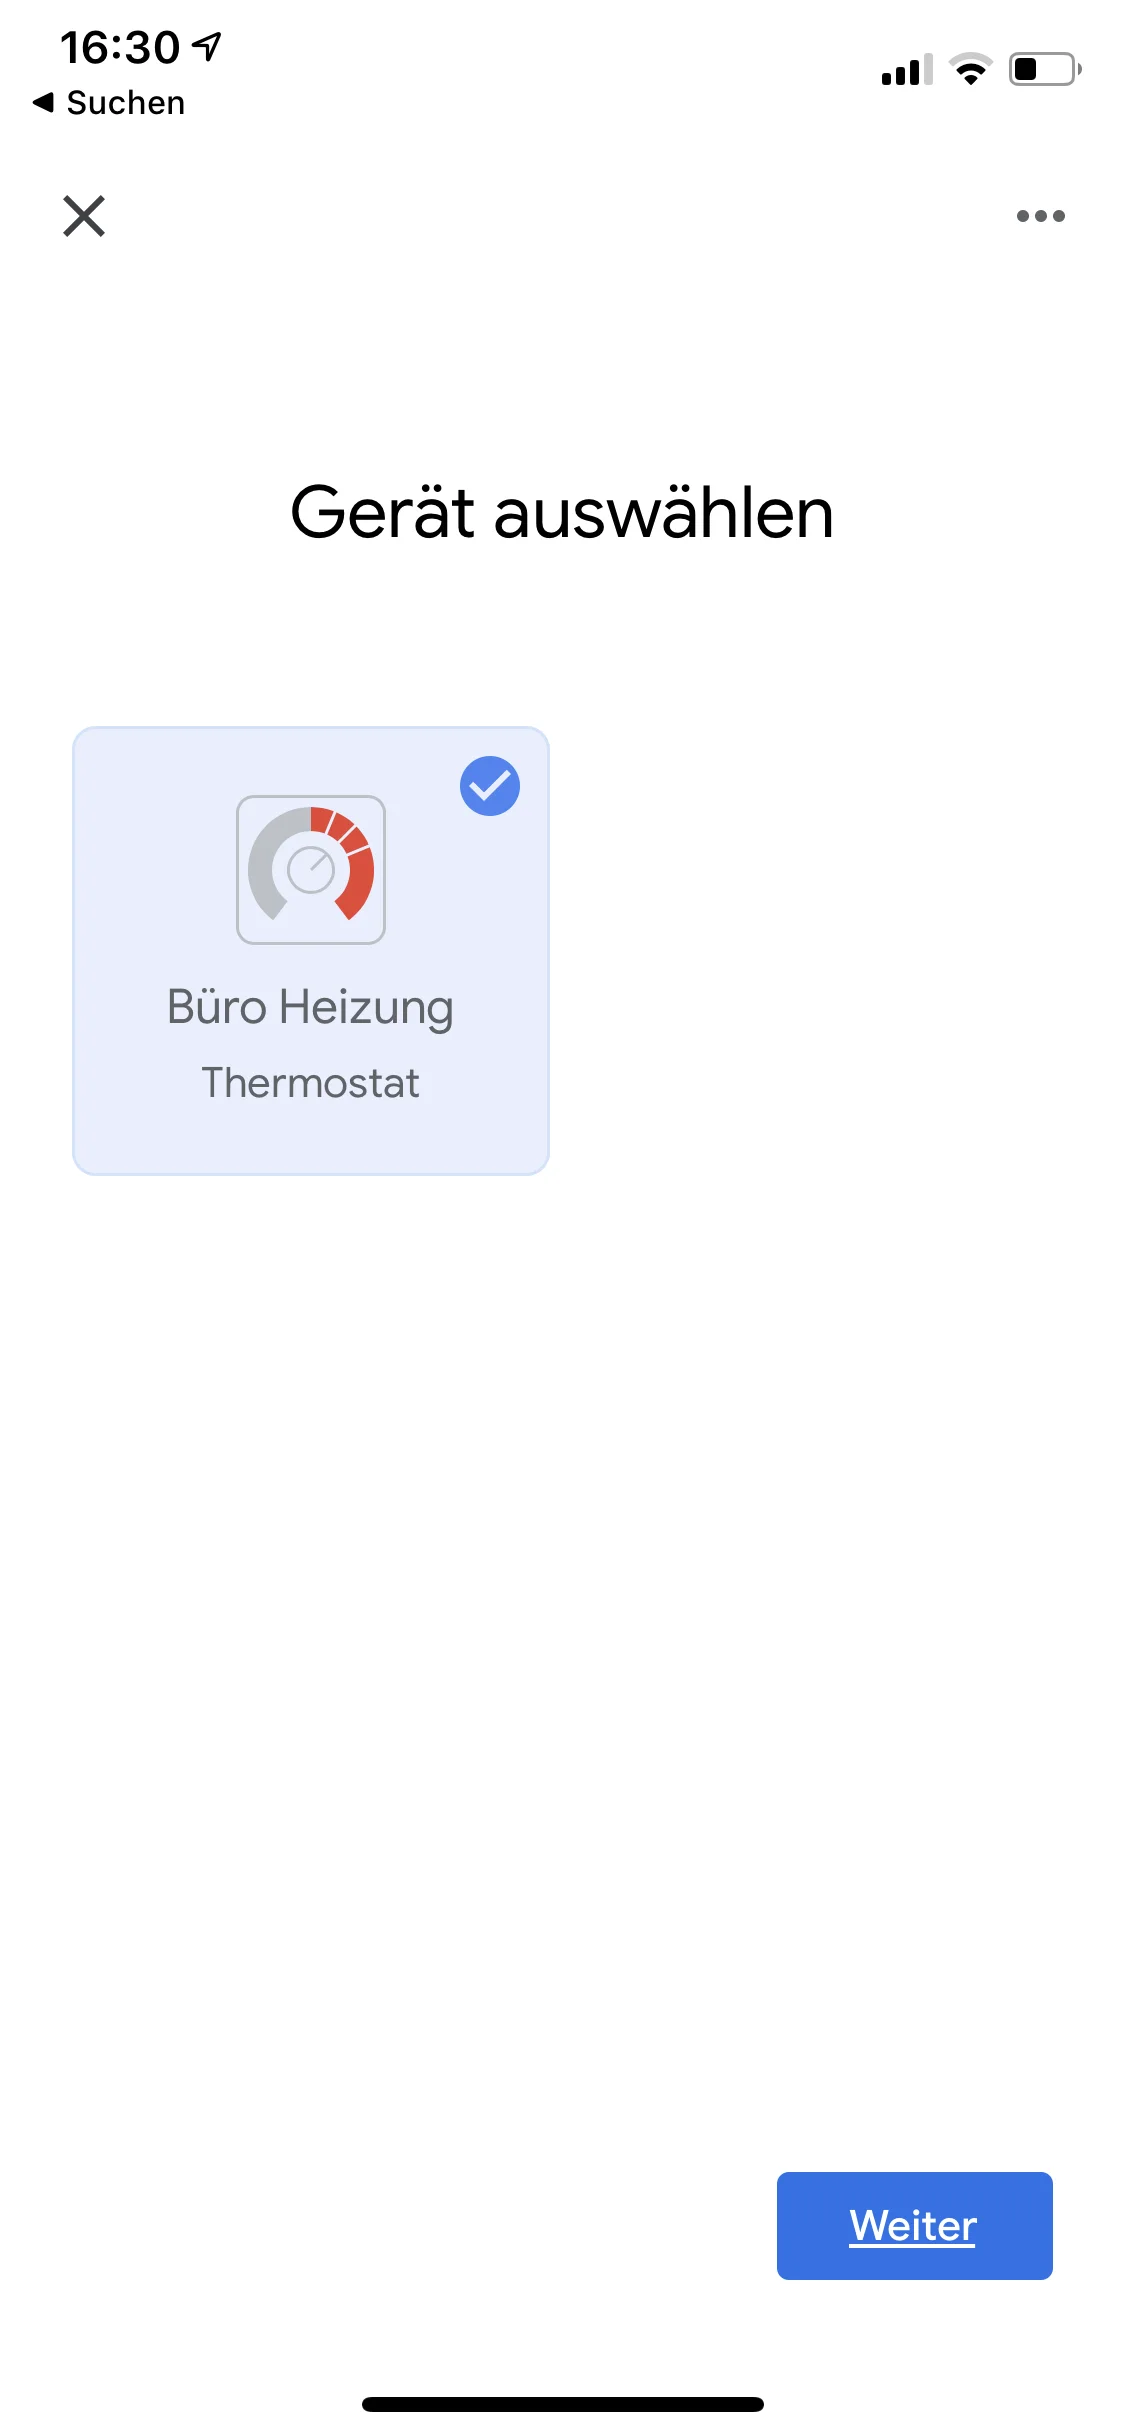
- Select “Search for new devices” in the openHAB connection
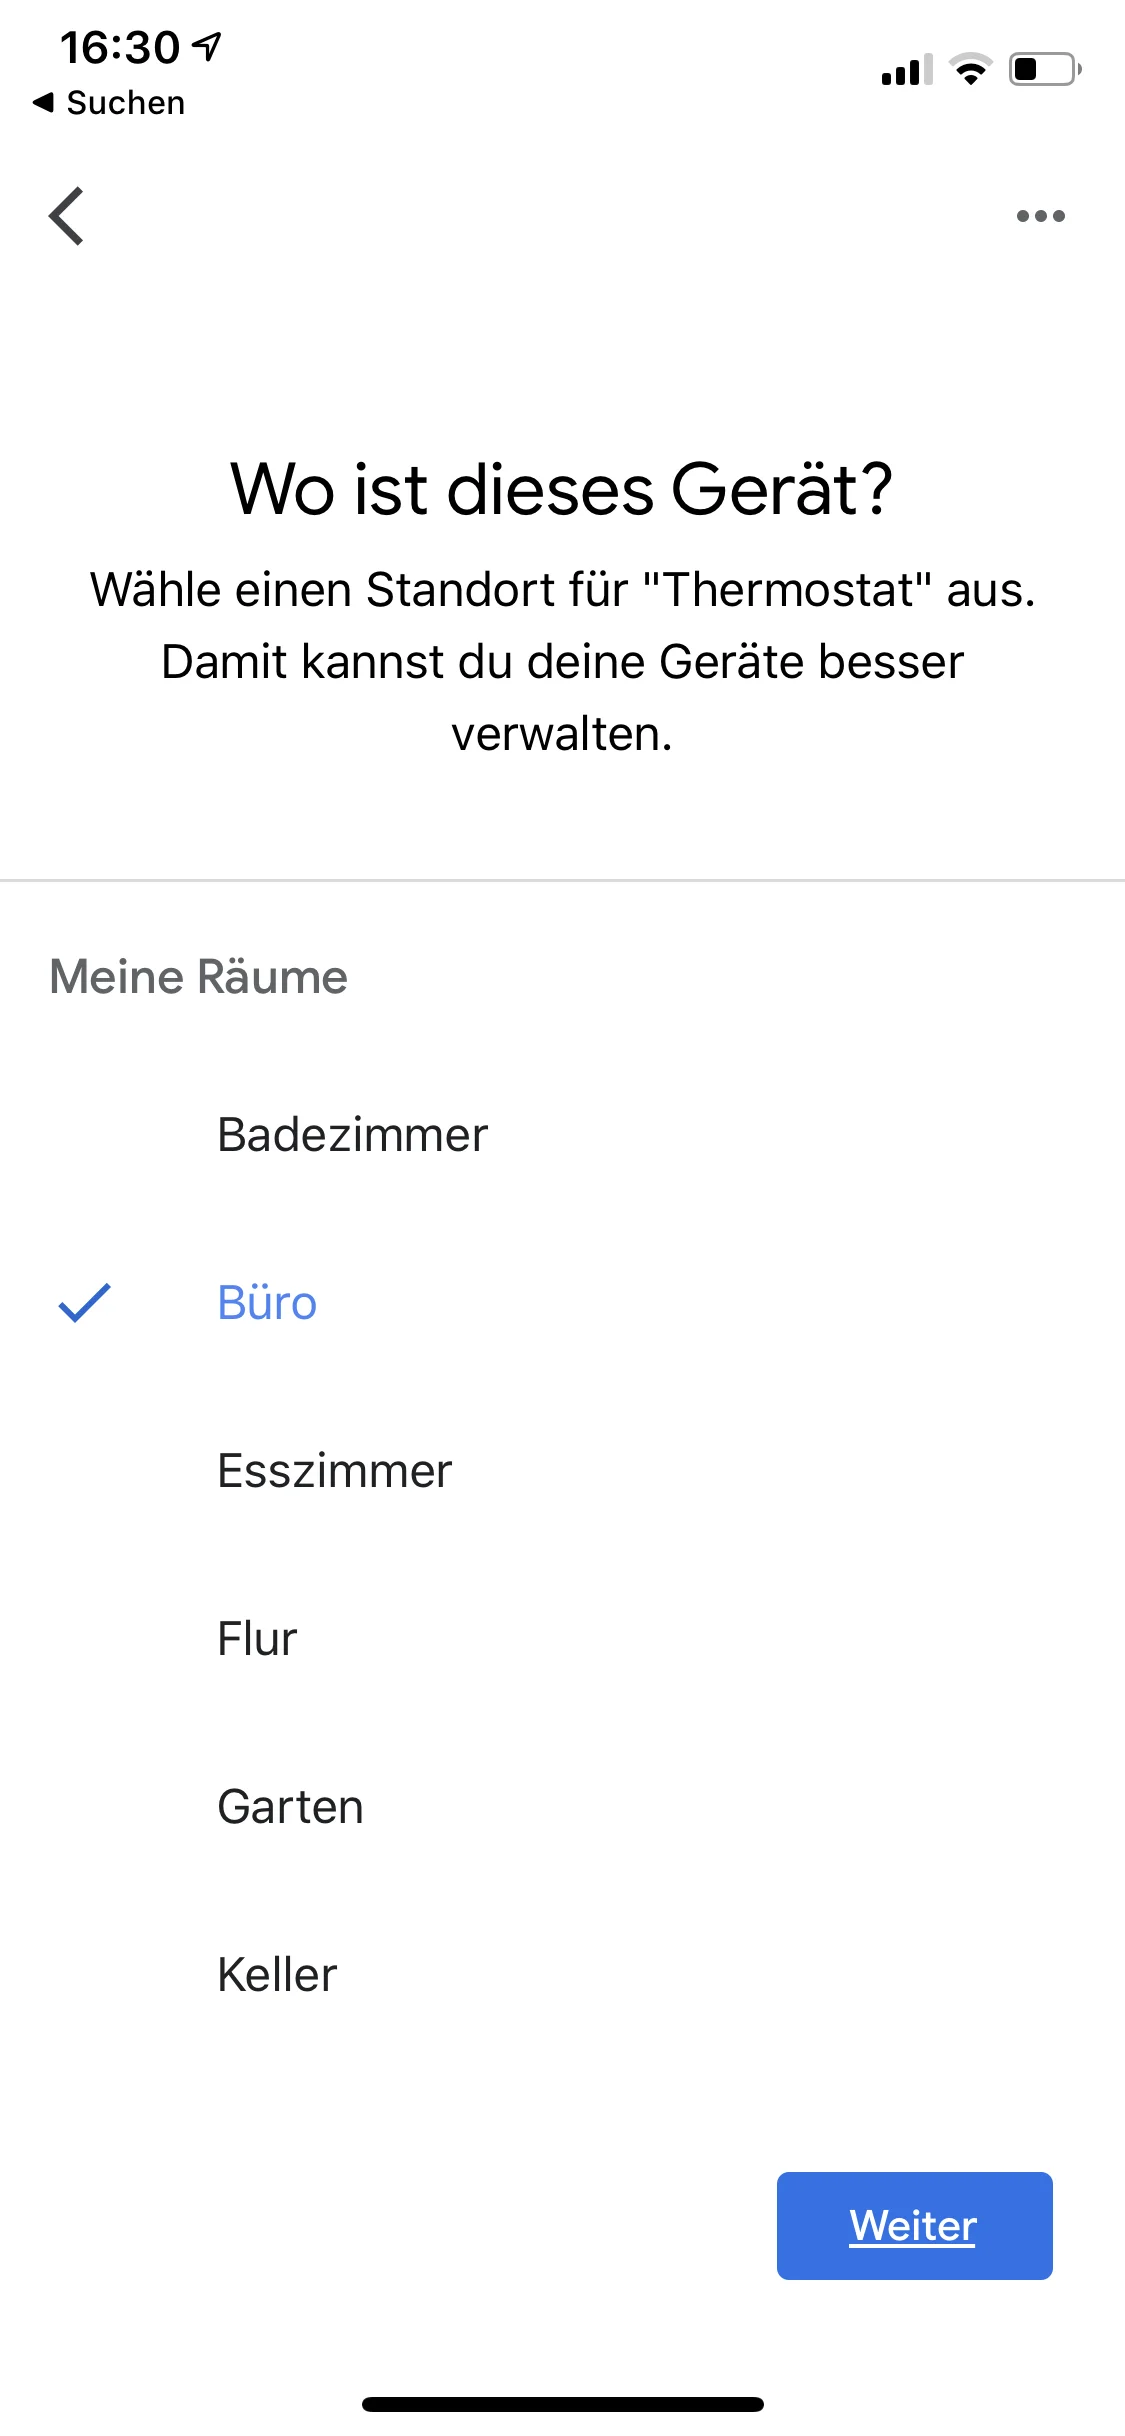
- Assign the device to a room
- Set the operating mode from “Other” to “Heating” once (alternatively, you could restart openHAB, since we’ve set up a rule for system startup)
Conclusion
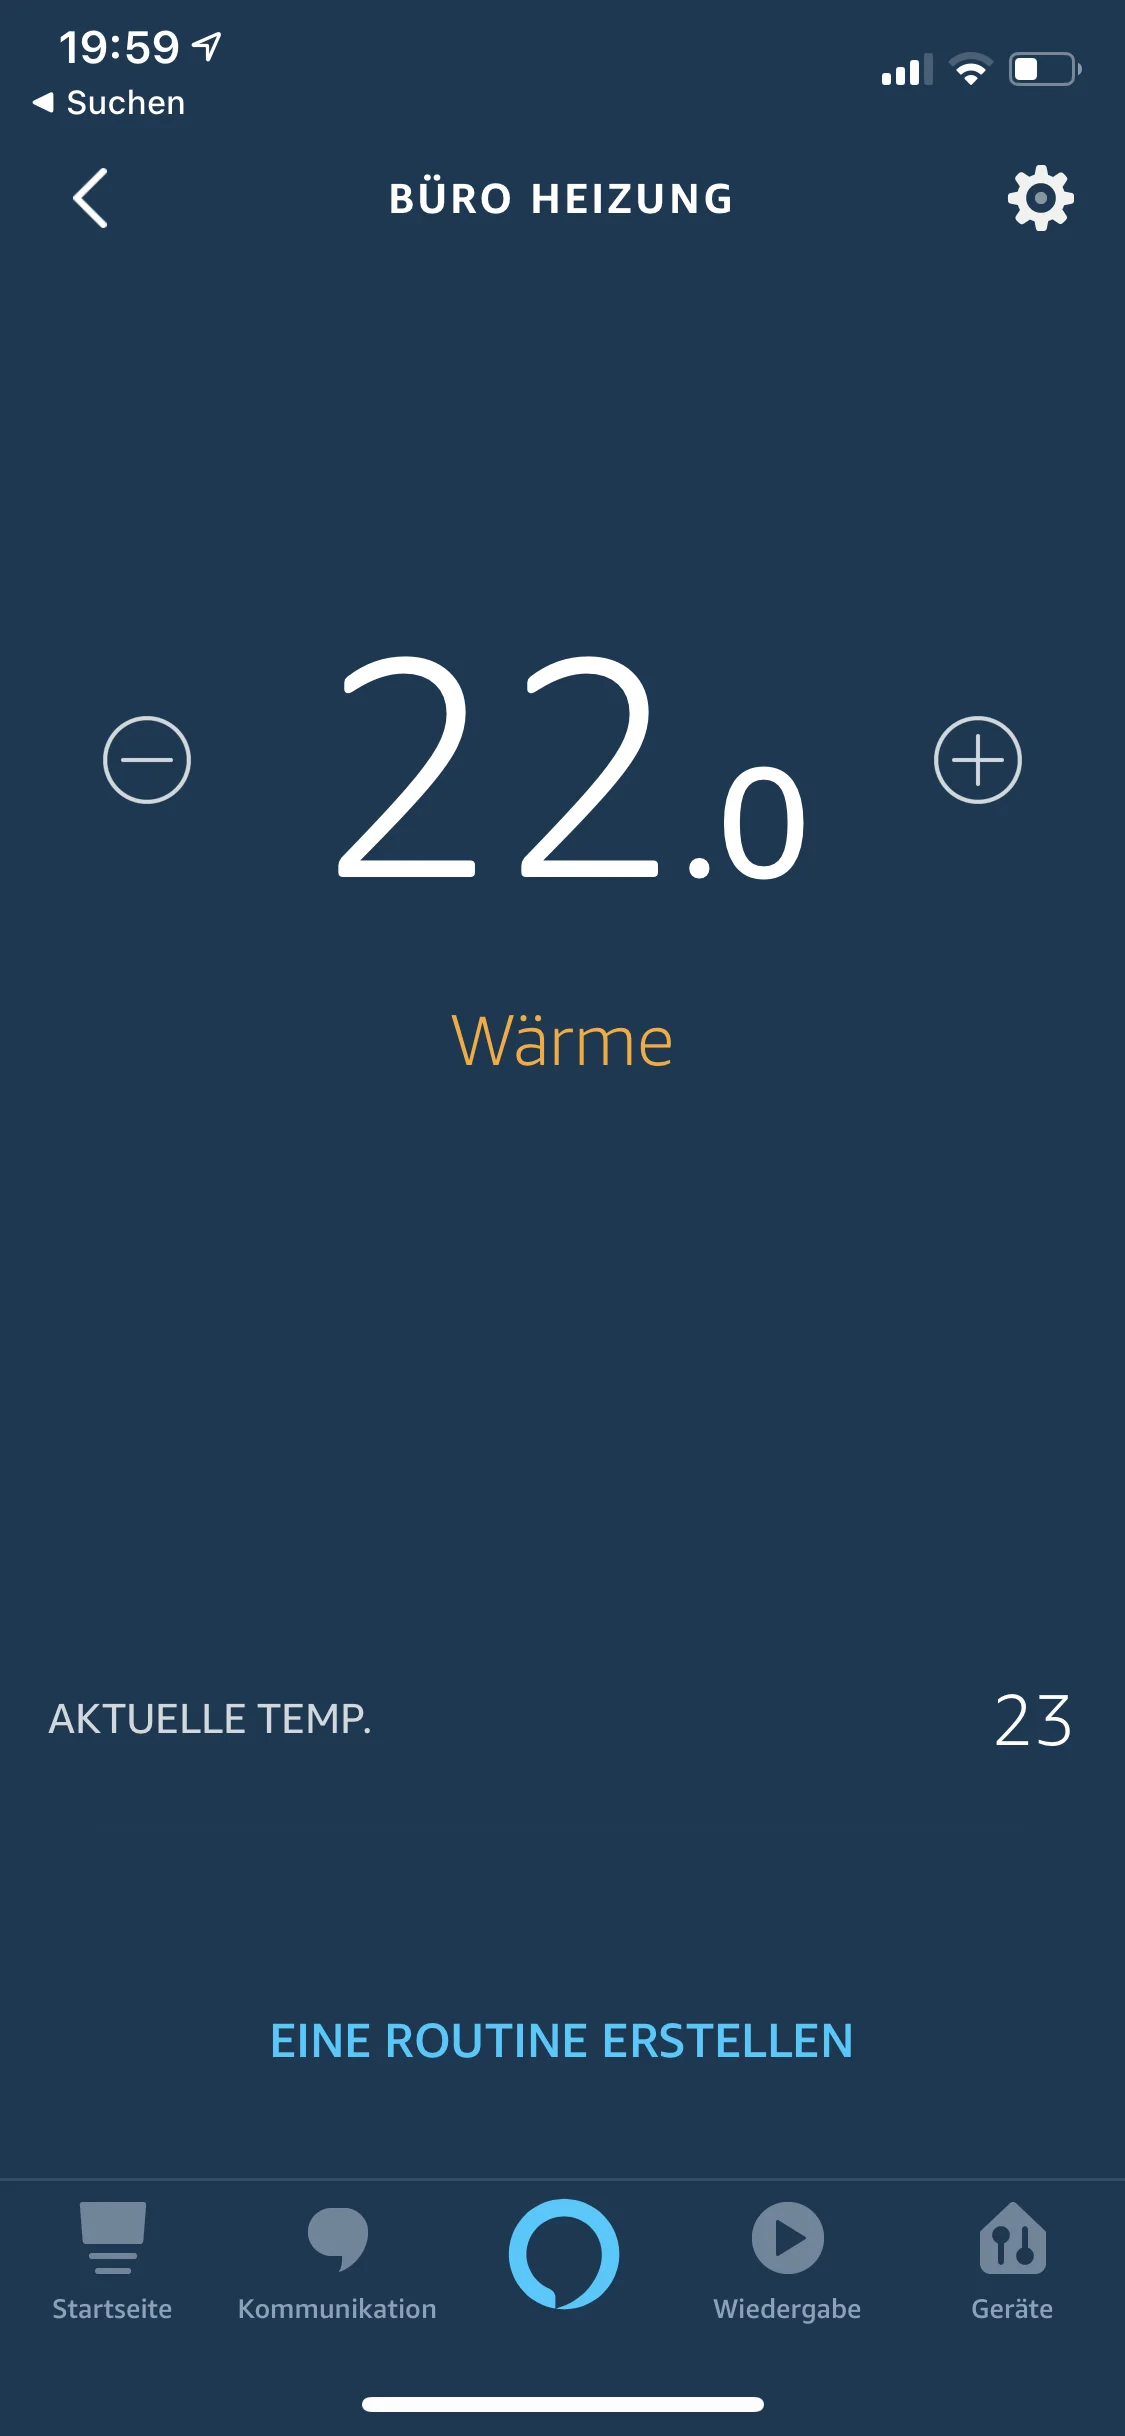
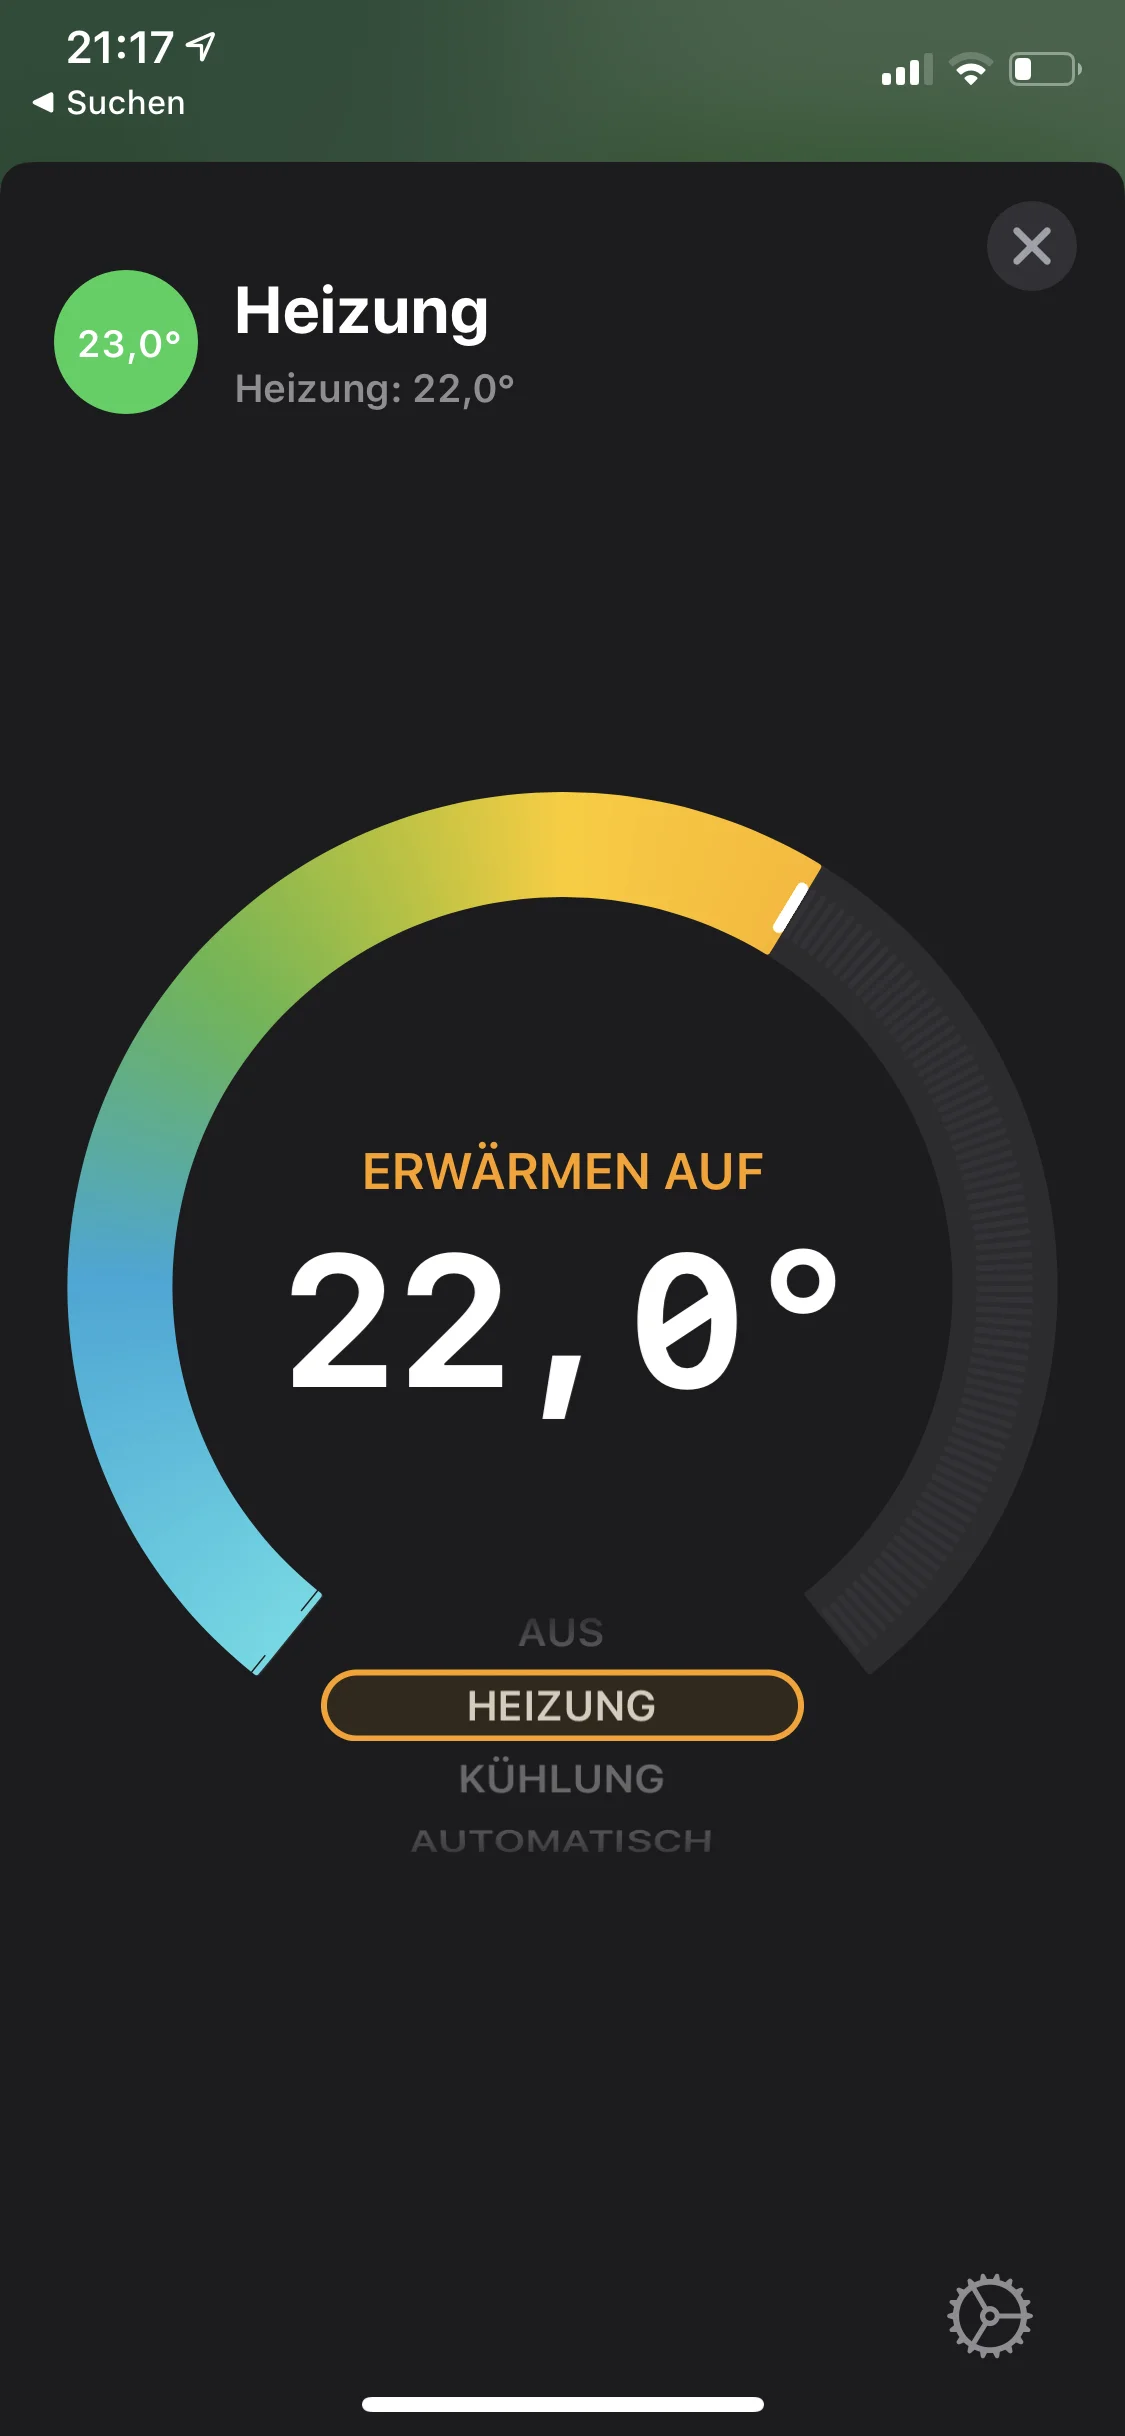
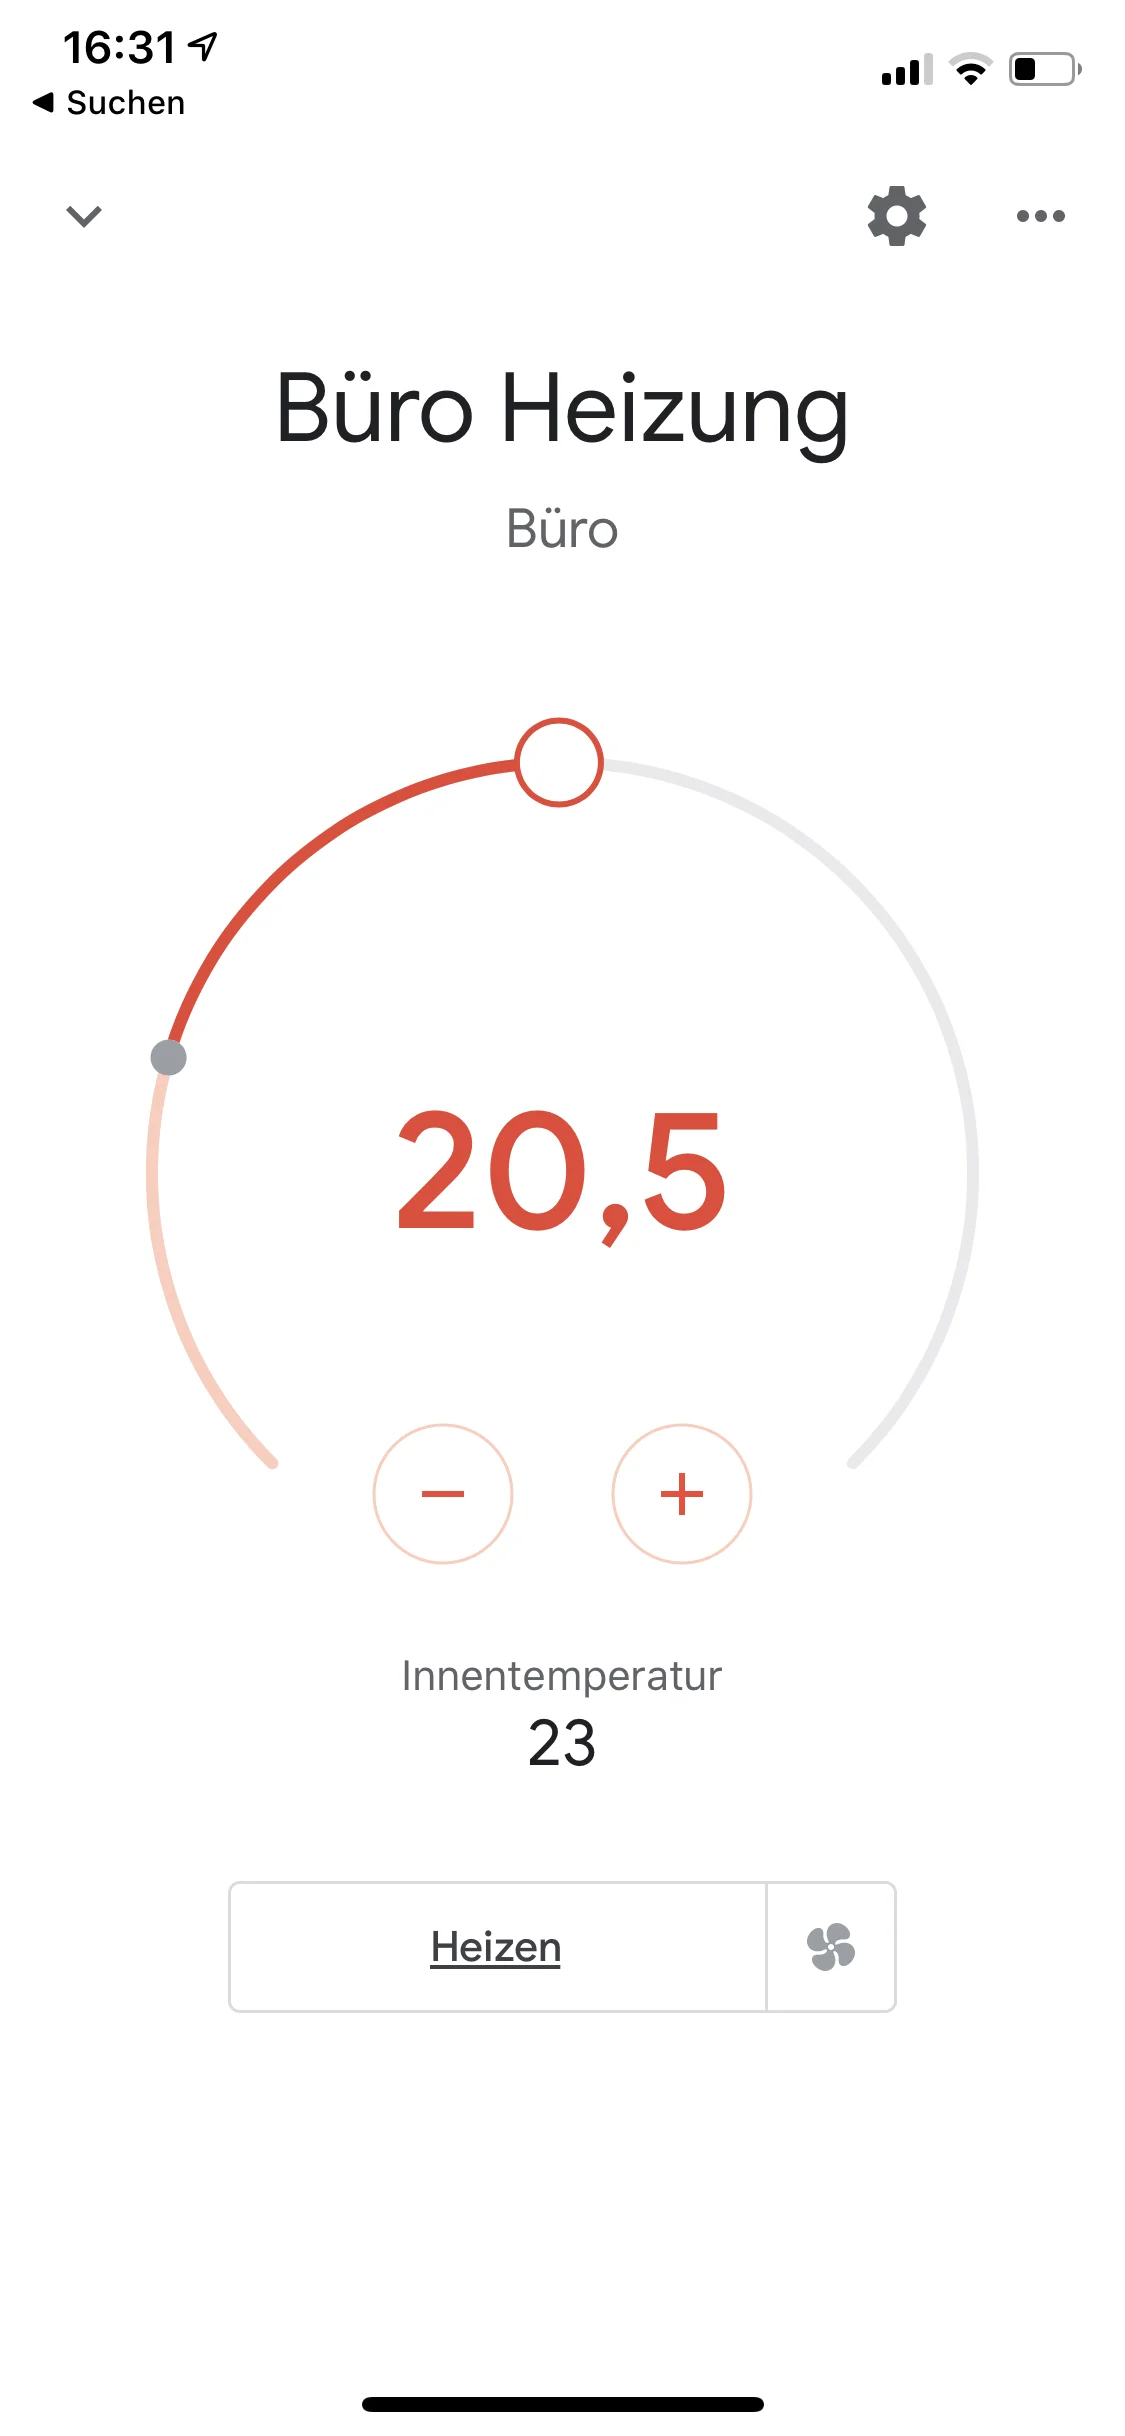
That’s it! Now you can query or set the temperature via voice using Siri, Google Assistant, or Alexa. Here’s how it looks in the respective assistants on your smartphone:
I look forward to your comments on whether this article helped you. Feel free to write if you have questions or if something remained unclear. Or if you were able to implement exciting further automation projects based on this setup.
No Comments? No Problem.
This blog doesn't support comments, but your thoughts and questions are always welcome. Reach out through the contact details at the bottom of the page.
Support Me
If you found this page helpful and want to say thanks, you can support me here.