Migrating from openHAB 2 to openHAB 3
Eiko WagenknechtThis post explains how to update your openHAB 2 installation to openHAB 3. I’ll demonstrate migration through parallel installation of a new openHAB 3 instance, then connecting it to the old system as preparation for a gradual transition.
Table of Contents
- Version
- Required Materials
- Preliminary Considerations
- Installing the New openHAB 3 Instance
- Connecting to the Old openHAB 2 System
- Conclusion
Version
At the time of publishing this article, openHAB 3.0 has just been released. If you’re reading this later, some aspects may have changed with newer versions. Please leave a comment if you notice any discrepancies, and I’ll update the guide.
Required Materials
- Raspberry Pi (e.g., Raspberry Pi 4 with 4GB RAM as a complete kit. The 8GB RAM version still has issues and is not recommended).
- A microSD card suitable for Raspberry Pi, preferably with 16GB or more storage. After experiencing multiple failures with cheaper cards, I recommend high-quality options like the Samsung PRO Endurance 64GB.
- Card reader for the microSD card.
Preliminary Considerations
The time has come: the new openHAB 3.0 version has been officially released. This raises the question of how to integrate it into your existing home infrastructure. There are essentially two approaches:
- In-place upgrade / Big Bang
- Parallel installation and gradual migration
During the beta phase of openHAB 3, I tried the first approach (Big Bang) by creating a complete backup of the SD card and then directly updating my Raspberry Pi from openHAB 2 to openHAB 3.
If you have a very simple installation (few bindings, etc.), this approach might work smoothly. However, with my rather extensive openHAB setup, I encountered numerous problems that were extremely difficult to locate since everything changed at once. Until everything works correctly again, your home automation will be non-functional for several days (depending on how much time you have for migration), which may displease other household members.
With the final version now available, I’ll follow and describe the second approach here: update through parallel installation. The principle is straightforward: set up a second openHAB instance and gradually migrate content from the old version to the new one, testing after each step to ensure everything still works.
The openHAB developers have provided a very useful binding for this scenario: Remote openHAB. This allows two (or more) openHAB instances to connect with each other. If a component doesn’t fully function under openHAB 3 (which can happen with such a major update), you can continue using the old openHAB 2 instance for that component. Even very old openHAB 1 bindings (which are no longer supported in version 3) can continue to be used this way.
There is one disadvantage to this method (at least if you’re running openHAB on a Raspberry Pi rather than using Docker, etc.): you’ll need a second Raspberry Pi since both versions run simultaneously. Only when everything has been migrated can the old Raspberry be shut down. Those who have enough smart home components to run a more extensive openHAB installation probably have a spare Raspberry Pi lying around or already subscribe to them on Amazon…
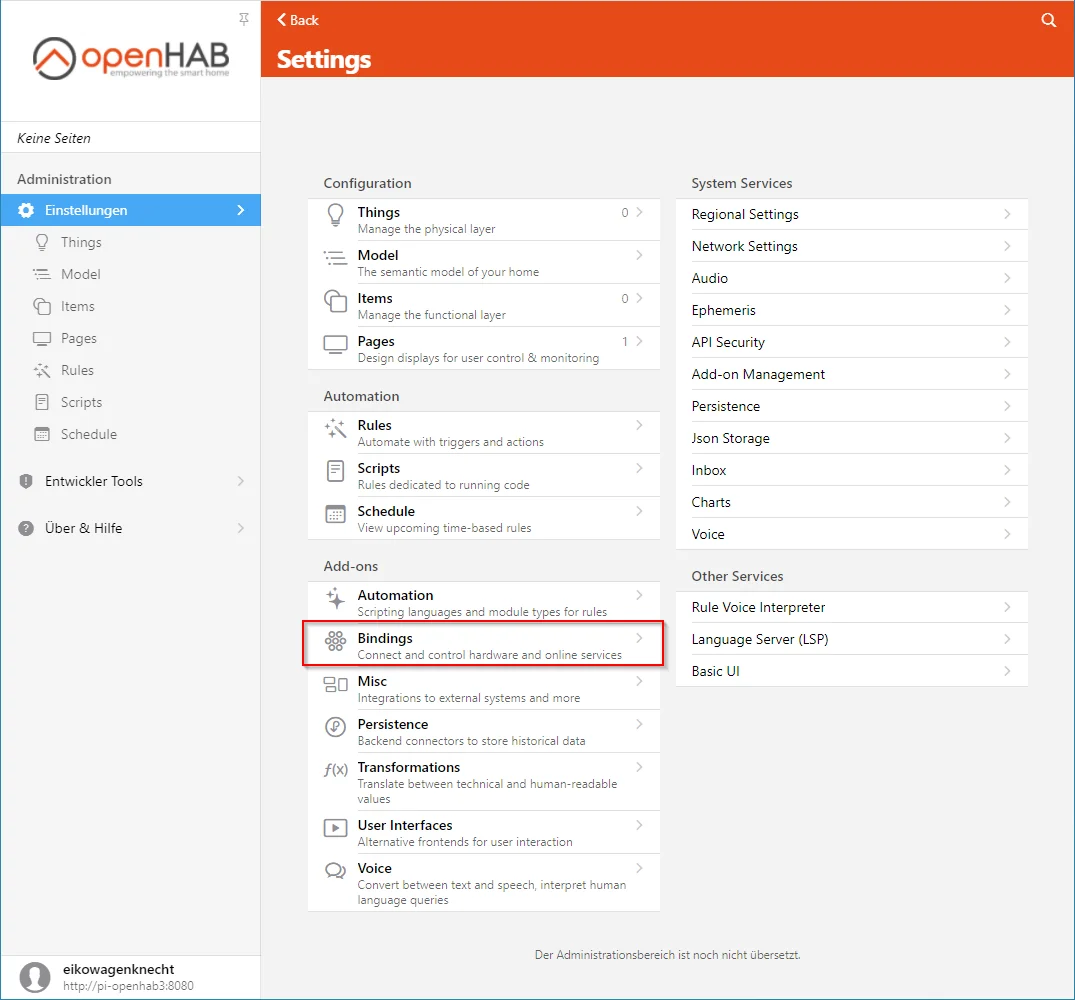
Installing the New openHAB 3 Instance
If you’re following this approach, everything begins with the parallel installation of a fresh openHAB 3 instance. I describe how to do this in this post.
Connecting to the Old openHAB 2 System
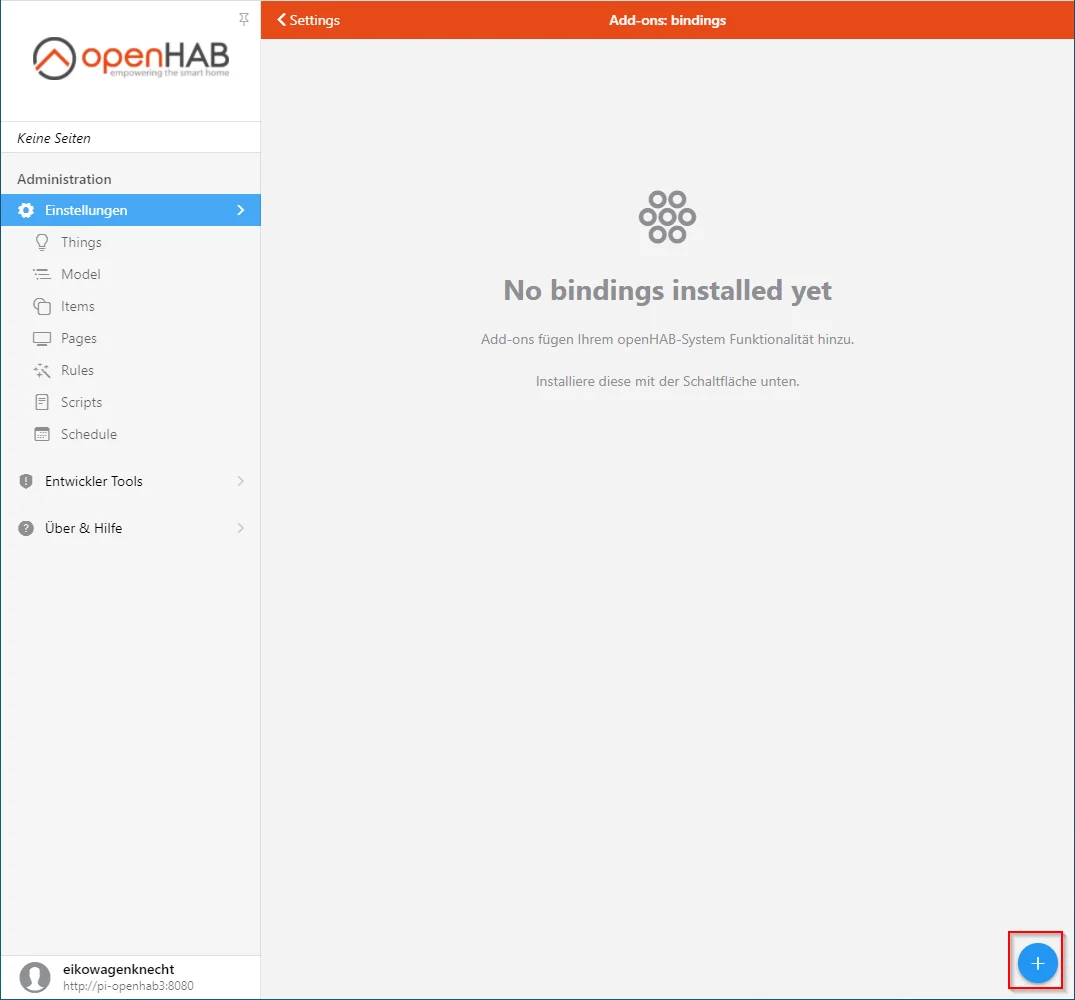
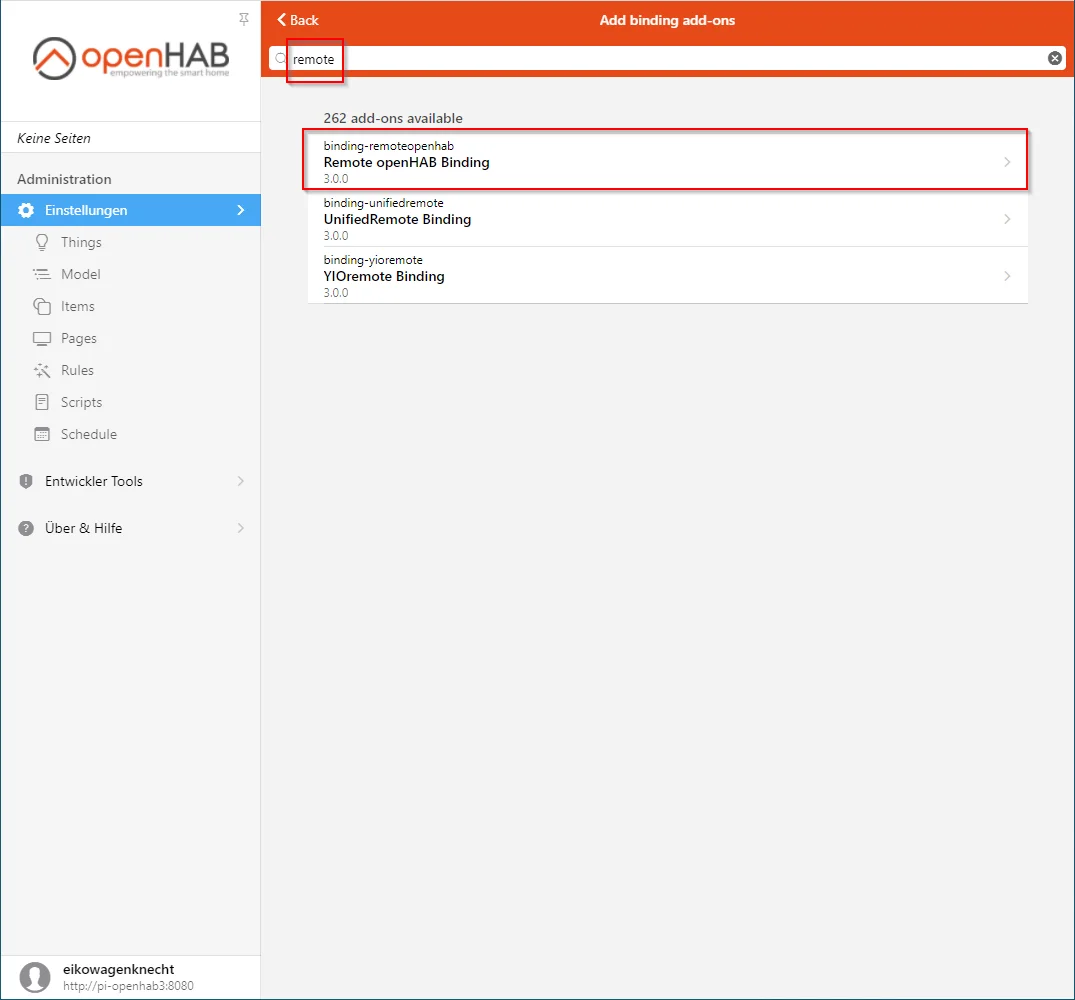
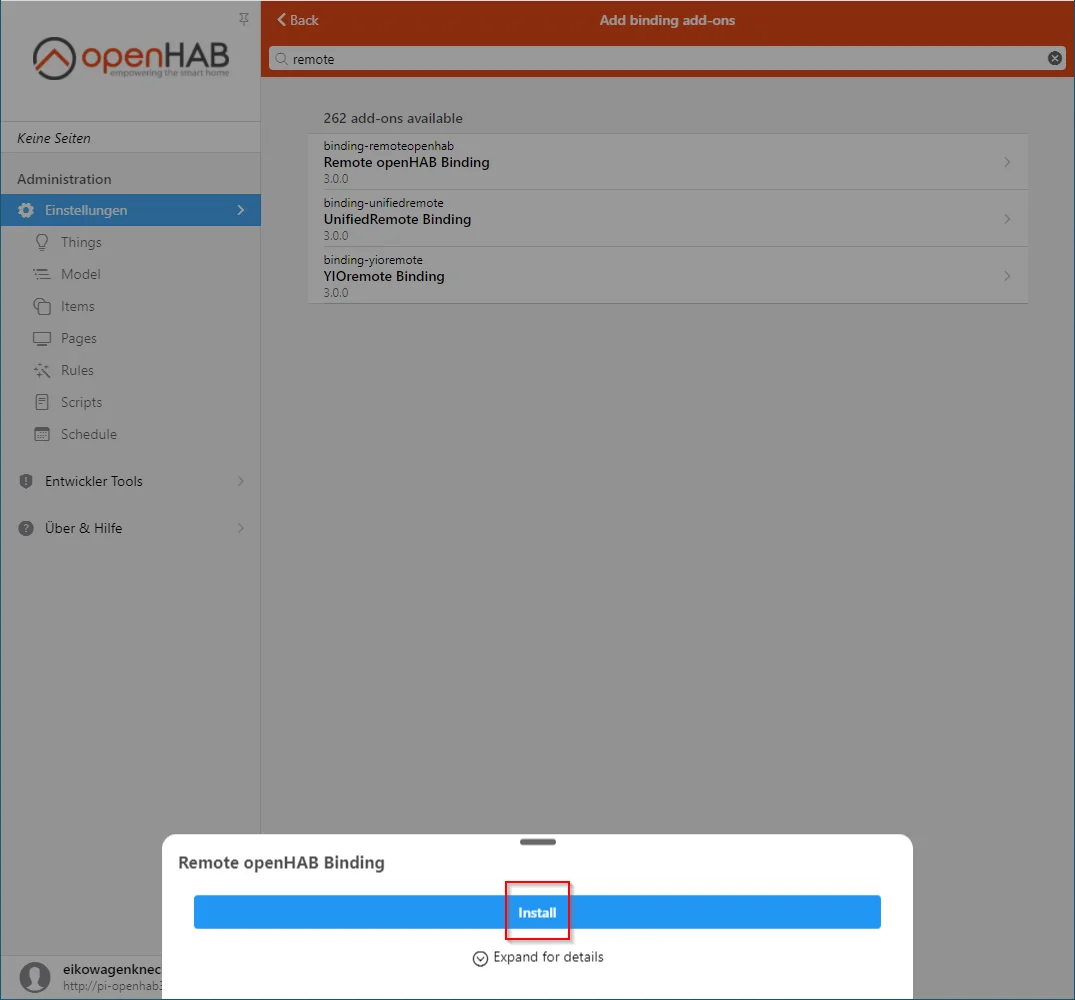
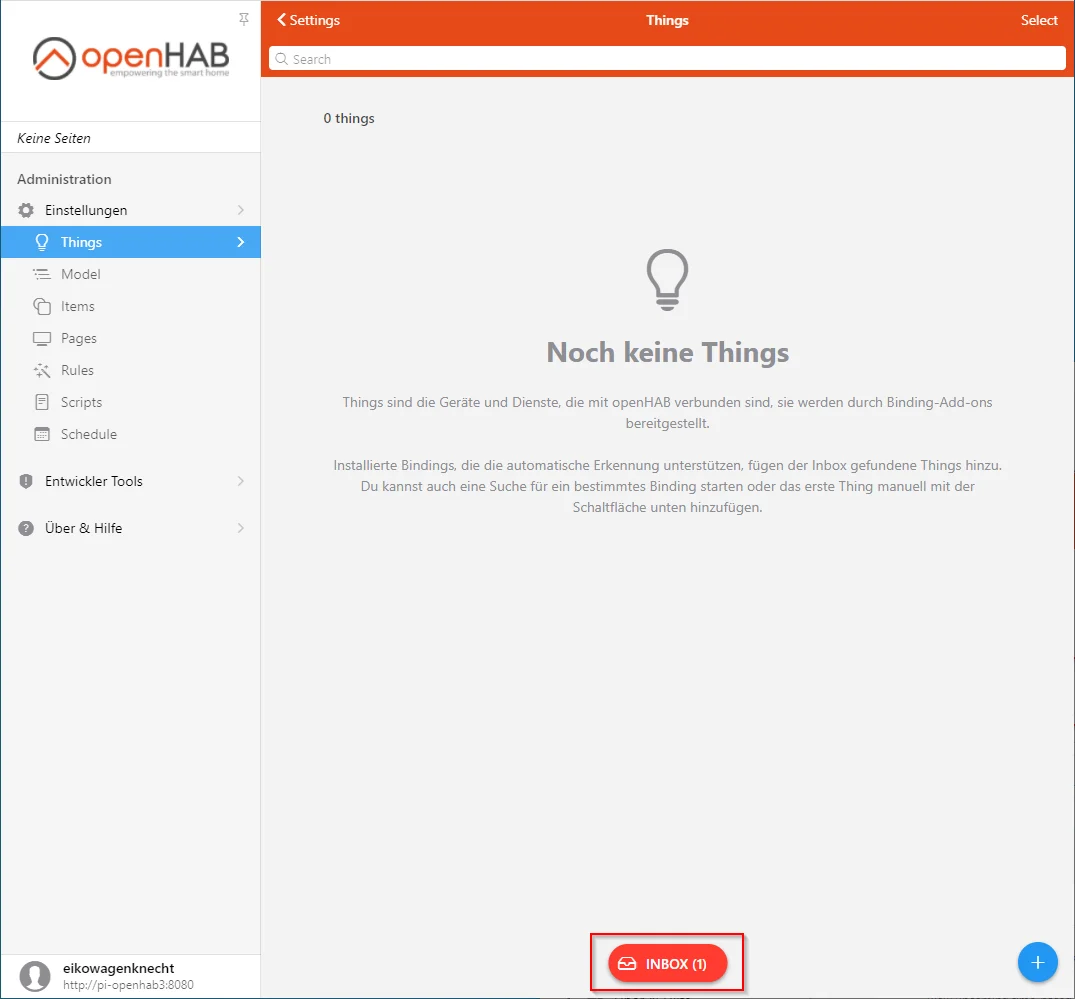
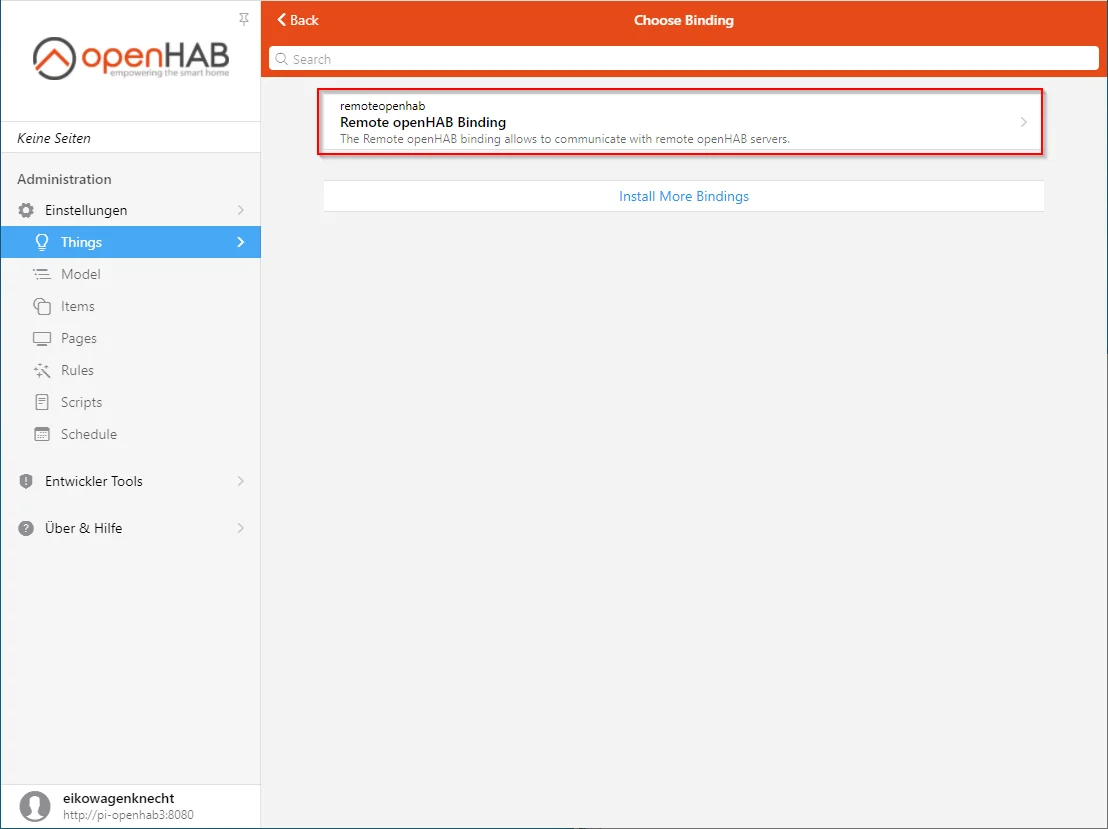
To connect the fresh openHAB 3 installation with the old openHAB 2 installation, install the Remote openHAB binding on the new openHAB 3:
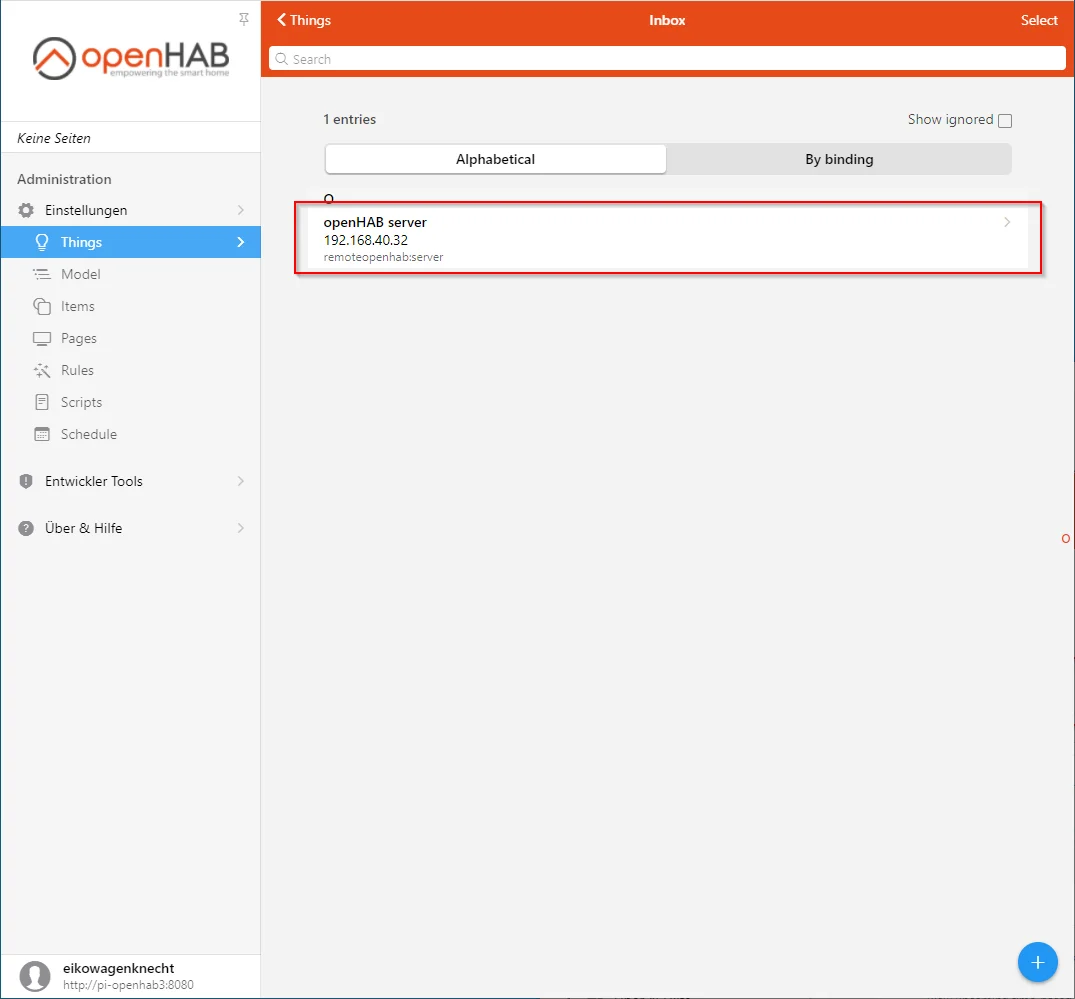
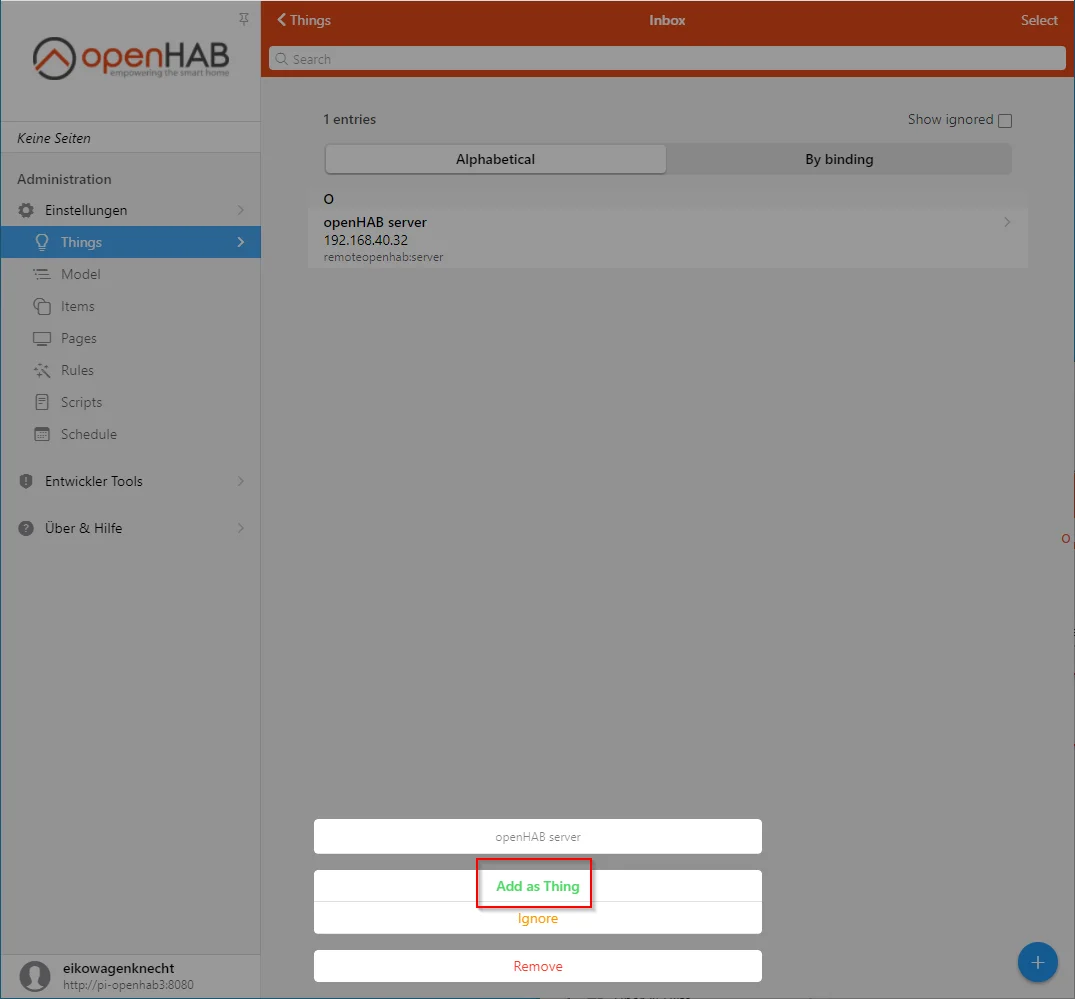
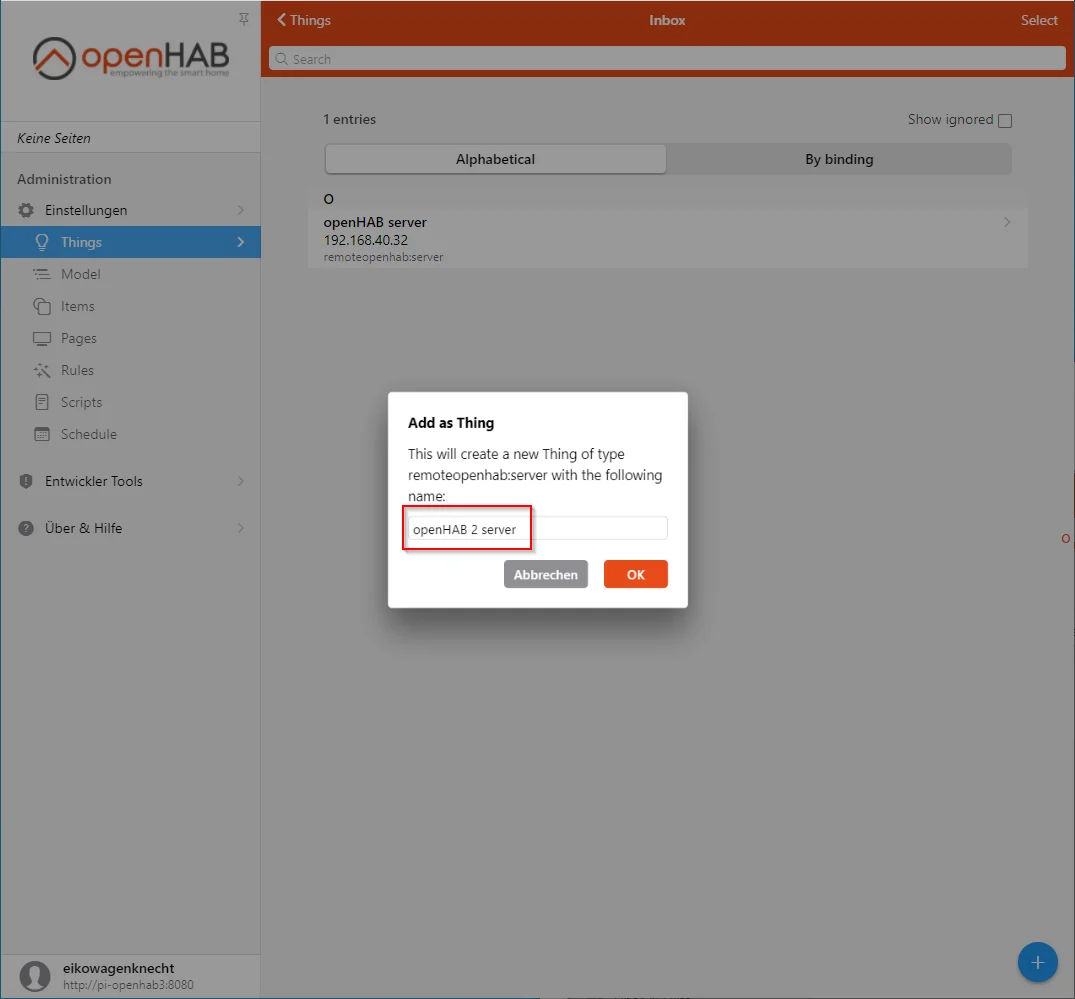
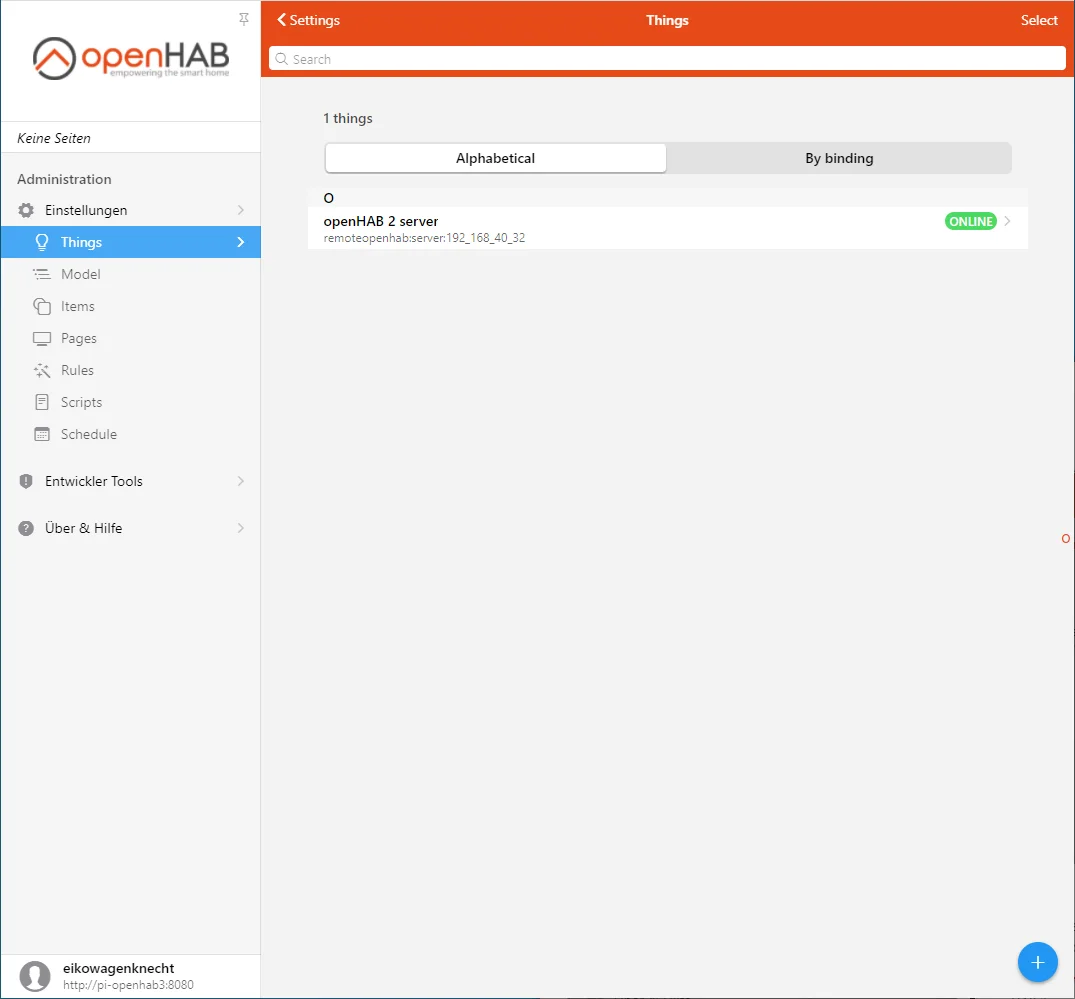
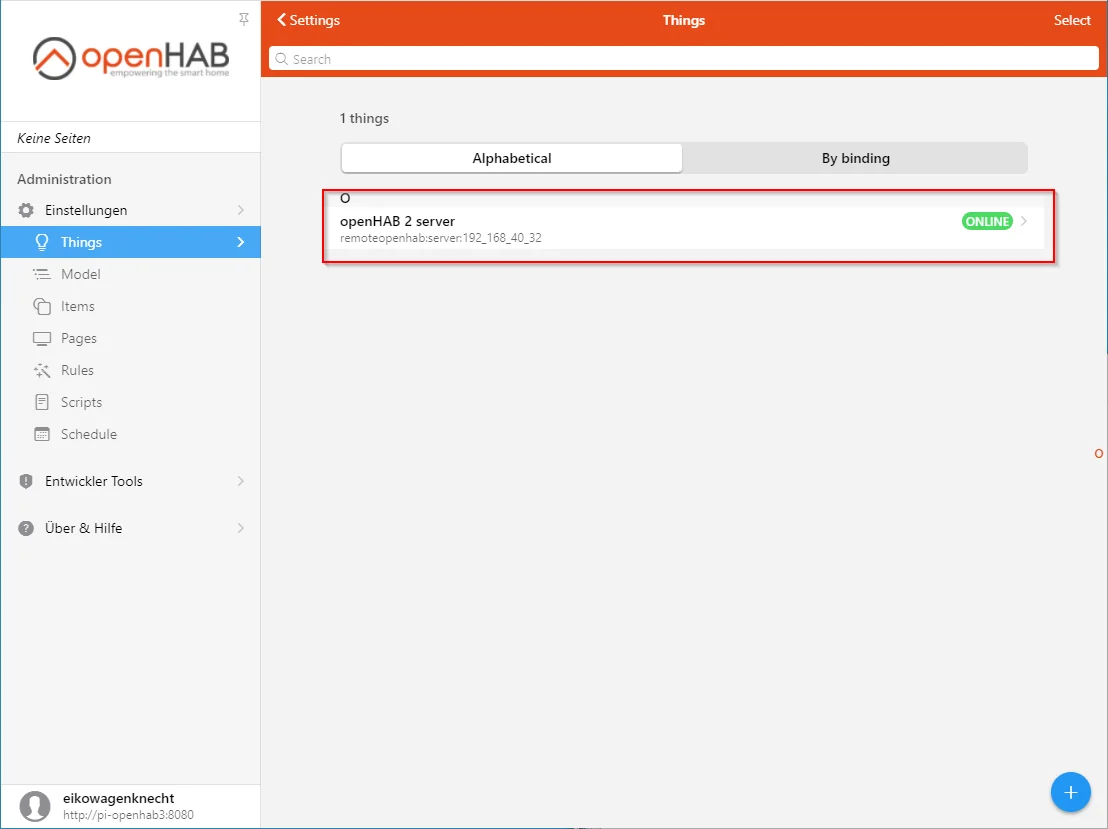
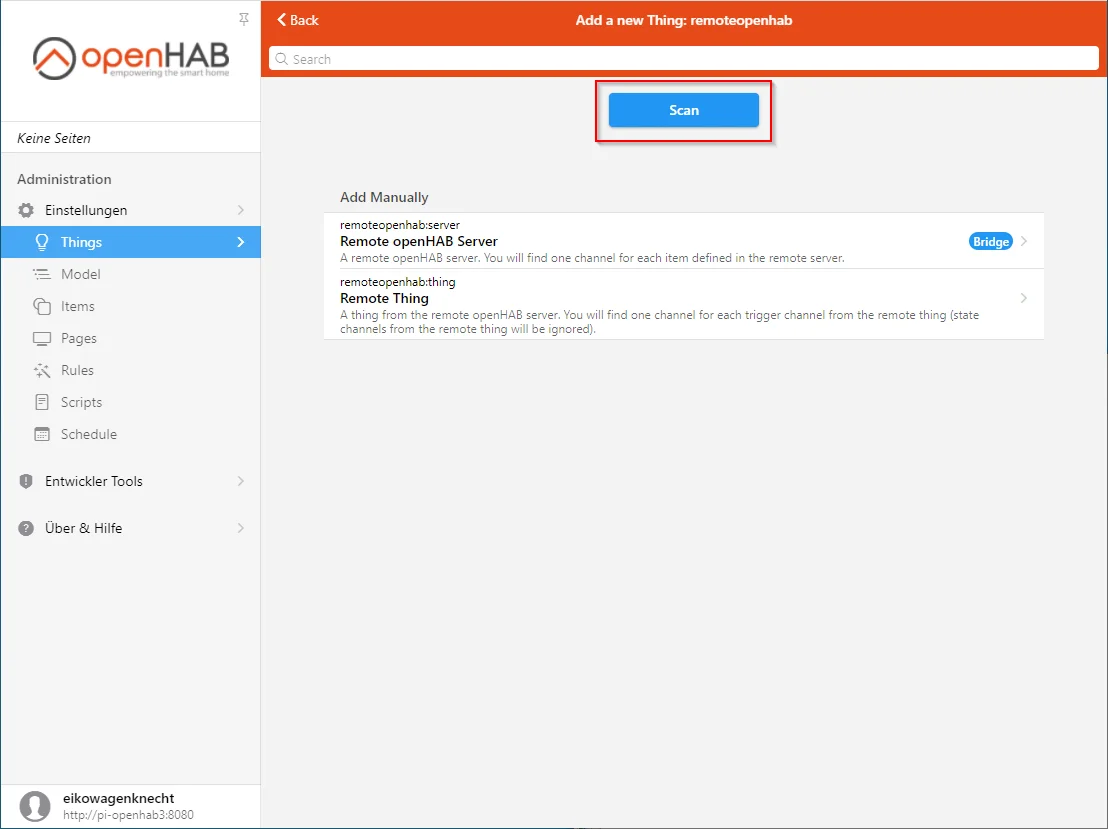
After installation, the old openHAB 2 server appears in the Inbox - which is now located under Things - and can be added:

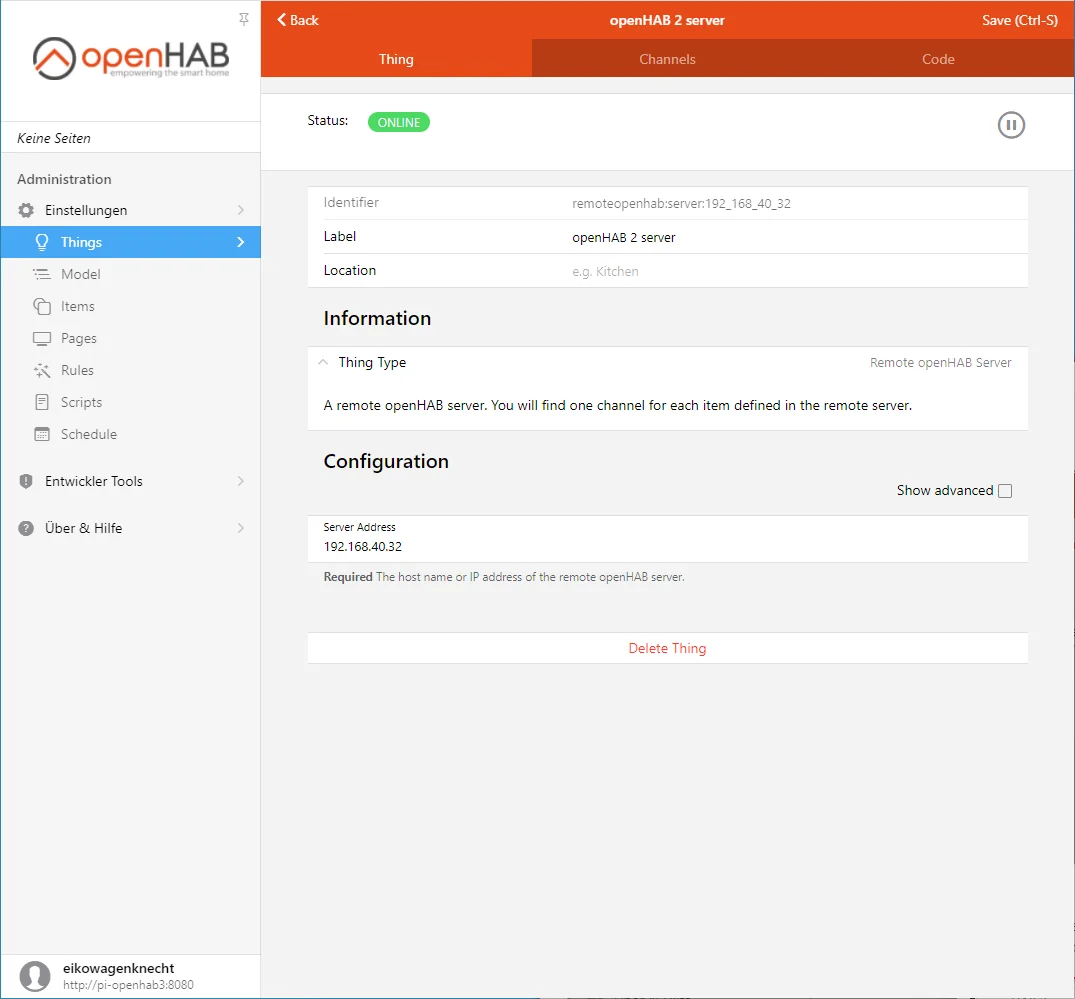
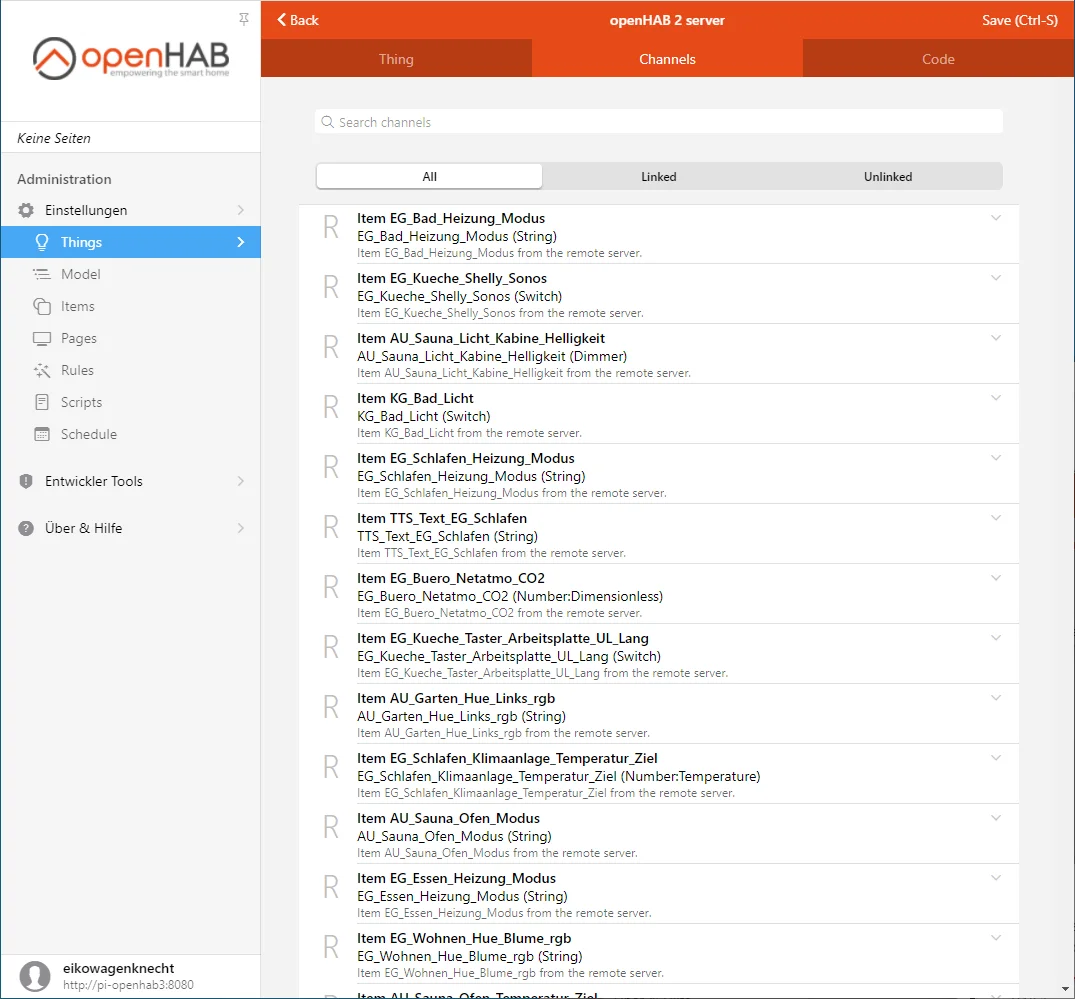
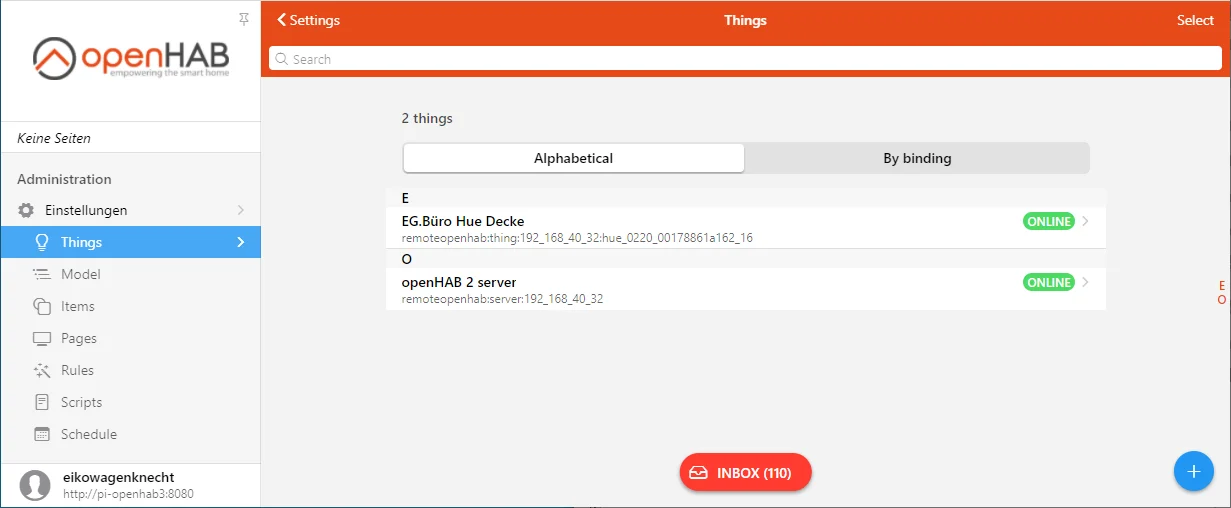
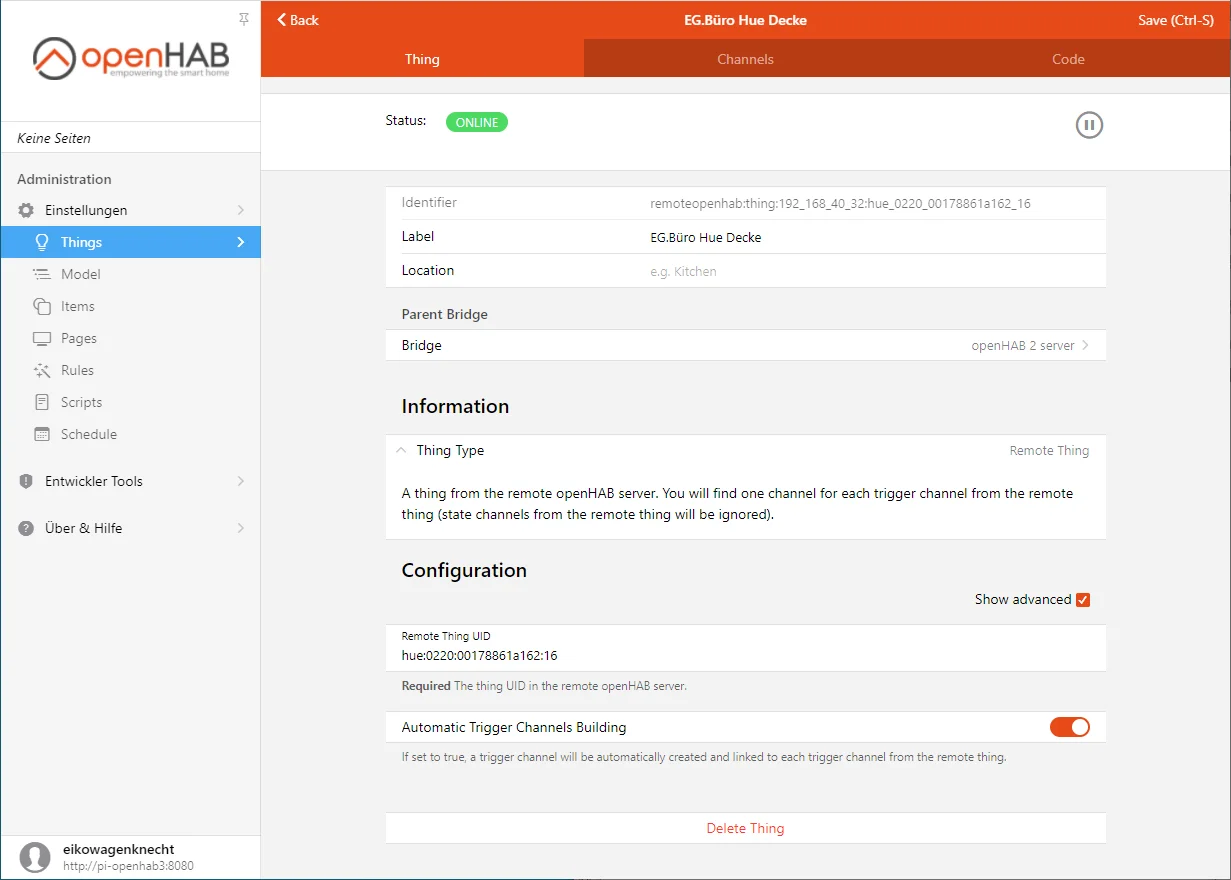
It then appears under Things, and the items from the existing openHAB 2 system can be accessed as channels of this Thing:
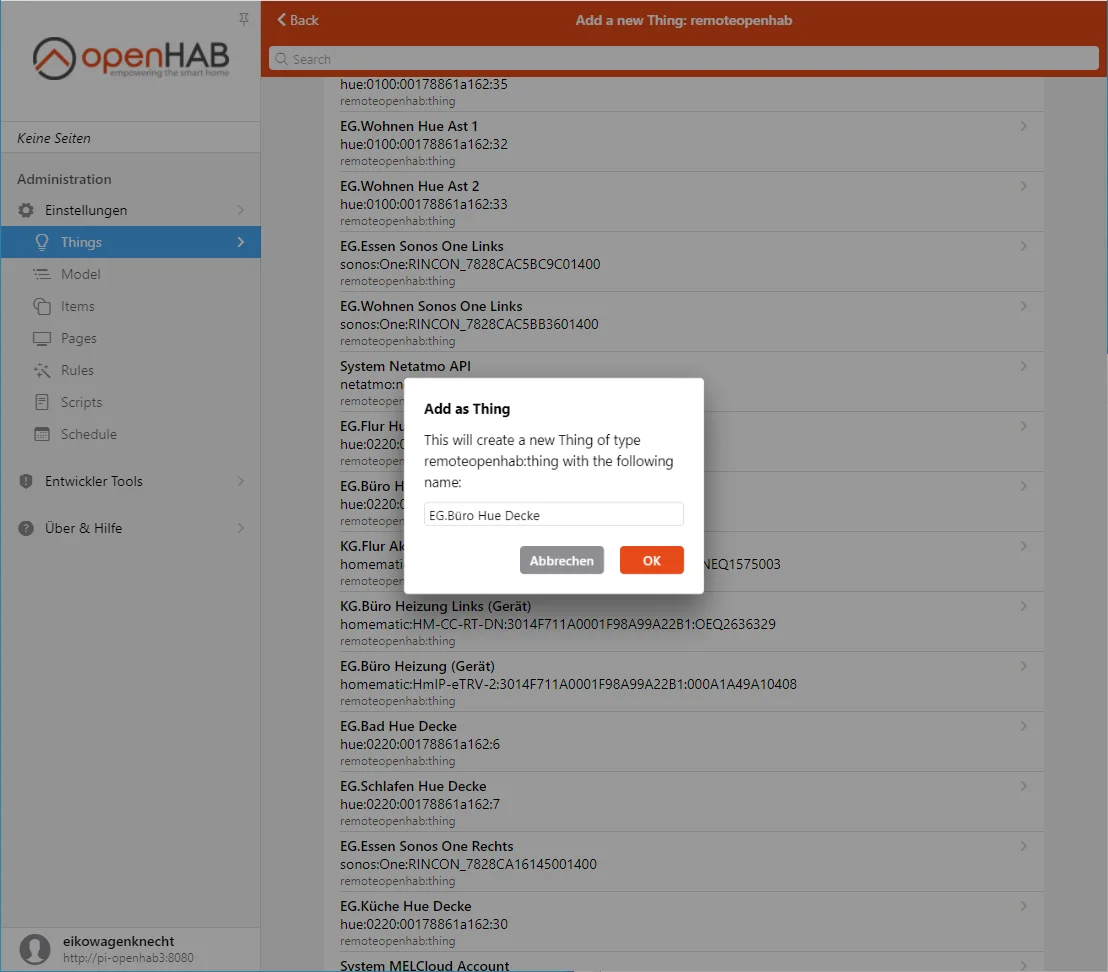
The Things from the old openHAB system are also available and can be found via a “Scan” on the newly created Remote Thing:
Important note: These synchronized Things do not contain channels. They only serve to synchronize the status of the Things and the trigger channels from the old openHAB system to the new one, allowing you to react to them and see their status in the interface. Only the status values ONLINE, OFFLINE, and UNKNOWN are supported; everything else is also displayed as OFFLINE. It looks something like this:
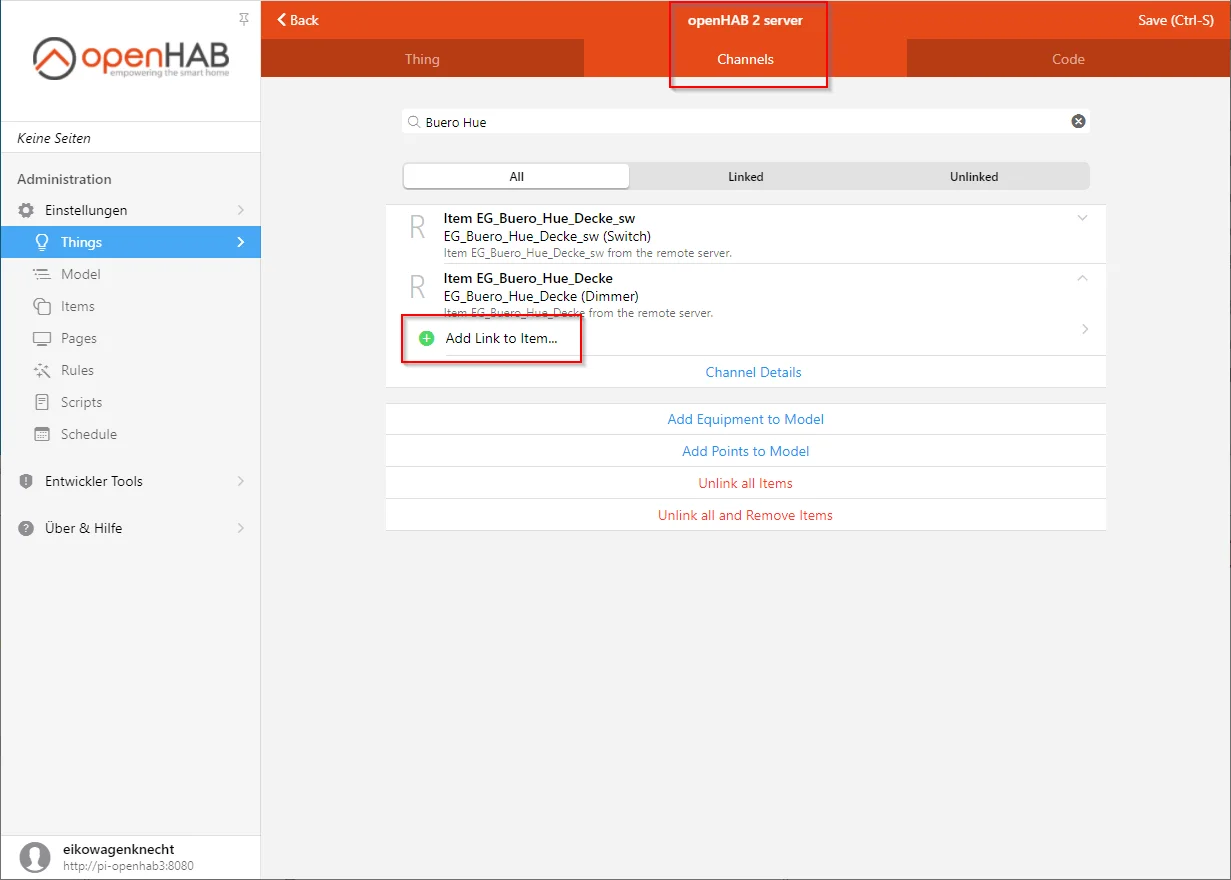
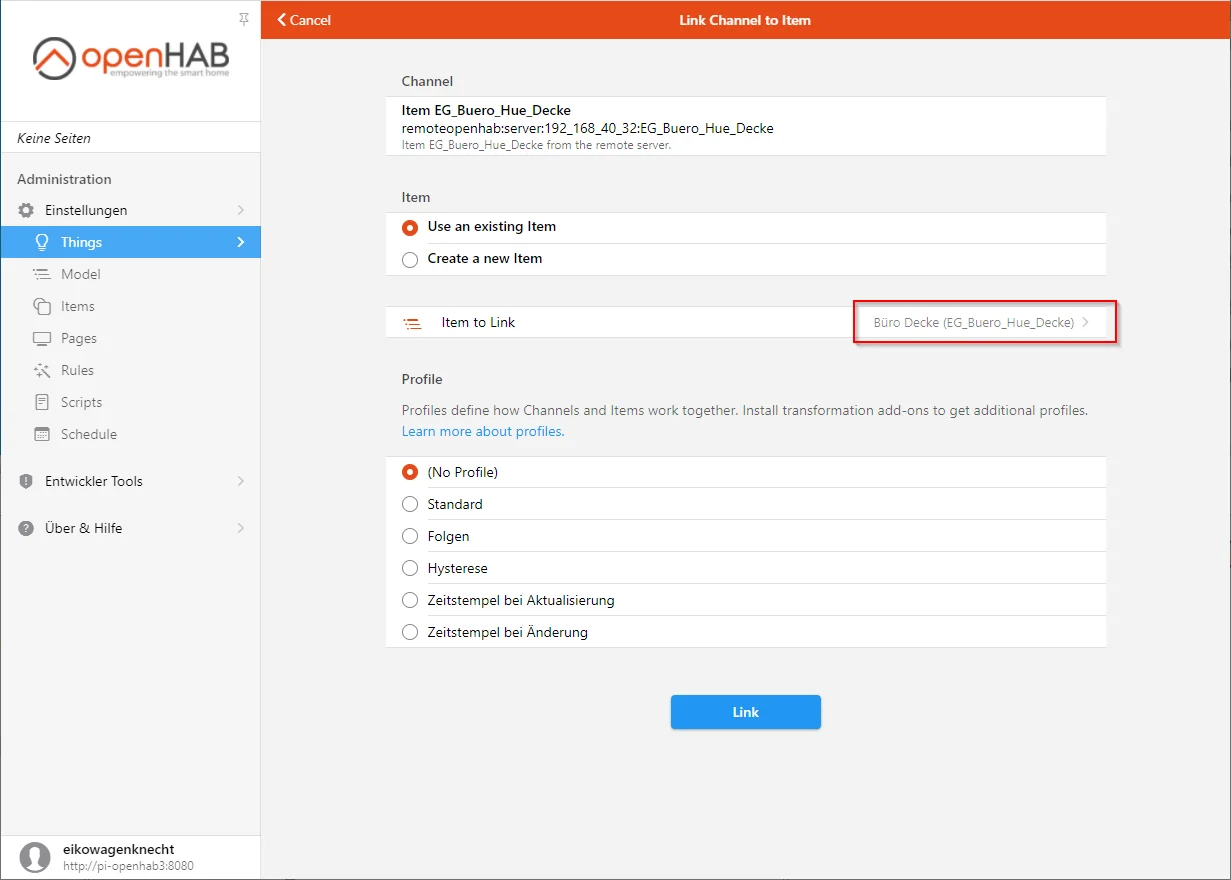
Item-based actions must be performed through the synchronized items, which exactly mirror the items of the old openHAB system. They can be created in the “Channels” tab of the openHAB 2 Thing. In the example below, I created the items beforehand via an .items file, but they can also be created in the web interface during this step:
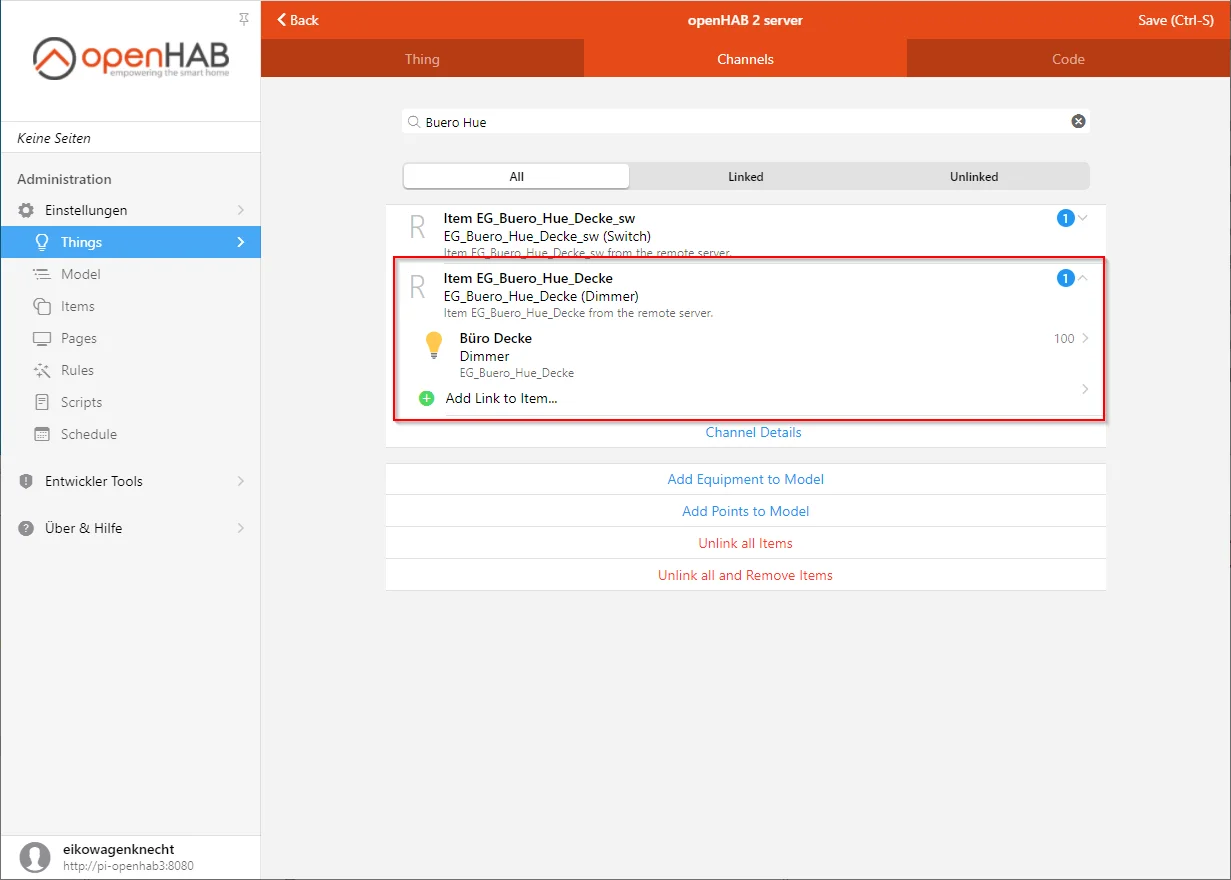
The status events of the item are now synchronized, and sending commands to the item also works, as shown by the following log entries:

Conclusion
With this setup, both openHAB systems are now connected, and you can gradually configure add-ons on the new system while disabling them on the old one. Since this process varies considerably depending on your home technology and bindings, I won’t go into further detail here.
If you have specific questions, feel free to ask me or, even better, consult the all-knowing openHAB Community (Forum).
I look forward to your comments on whether this post has been helpful. Please write if you have questions or if anything remains unclear. Or share your experiences if you’ve used this approach to implement exciting automation projects.
No Comments? No Problem.
This blog doesn't support comments, but your thoughts and questions are always welcome. Reach out through the contact details at the bottom of the page.
Support Me
If you found this page helpful and want to say thanks, you can support me here.