OpenSprinkler Installation (Raspberry Pi)
Eiko WagenknechtThis post is also available in German
This step-by-step guide explains how to install OpenSprinkler on a Raspberry Pi. OpenSprinkler is a powerful open-source irrigation controller that enables flexible and intelligent watering of your garden through a user-friendly web interface.
Table of Contents
- Version
- Required Materials
- Prerequisites
- Installation
- Basic Configuration
- Updating
- Uninstallation
- Conclusion
Version
At the time of writing this article, the current versions are Raspberry Pi OS from March 4, 2021 with Kernel 5.10 and OpenSprinkler firmware 219.7 from February 18, 2021. If you’re reading this later and newer versions have been released, please leave a comment so I can update the guide.
Required Materials
- OpenSprinkler Pi (OSPi) board including laser-cut acrylic case (e.g., from opensprinklershop.de, approx. €99)
- 24V AC power supply (e.g., from opensprinklershop.de, approx. €24)
- Raspberry Pi 3 or 4 (e.g., the Raspberry Pi 3 with 1GB RAM, approx. €37)
- A microSD card suitable for the Raspberry Pi, preferably with 16GB or more storage. After bad experiences with cheap cards, I personally use the Samsung PRO Endurance 64GB (approx. €14).
- Card reader for the microSD card (approx. €14)
I personally use the Raspberry Pi 3 and a slightly older generation of the OpenSprinkler Pi. The newer versions also support the Pi 4, although an upgrade isn’t really necessary since even the Pi 3 is already oversized in terms of performance, and the Pi 4 consumes more power.
Prerequisites
The hardware should already be assembled according to the included instructions, with the Raspberry Pi mounted on the circuit board.
Installation
First, install the Raspberry Pi OS Lite as usual (described here in one of my other posts).
Then comes the OpenSprinkler-specific part. The principle is simple: install firmware, start firmware, done. Here’s how to do it in detail:
Log in to the Raspberry via SSH and execute the following commands:
sudo apt-get install git
cd ~
git clone https://github.com/OpenSprinkler/OpenSprinkler-Firmware.git
cd OpenSprinkler-Firmware
sudo ./build.sh ospi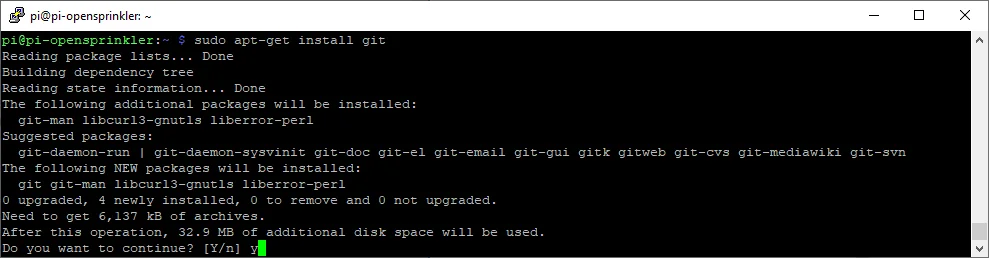
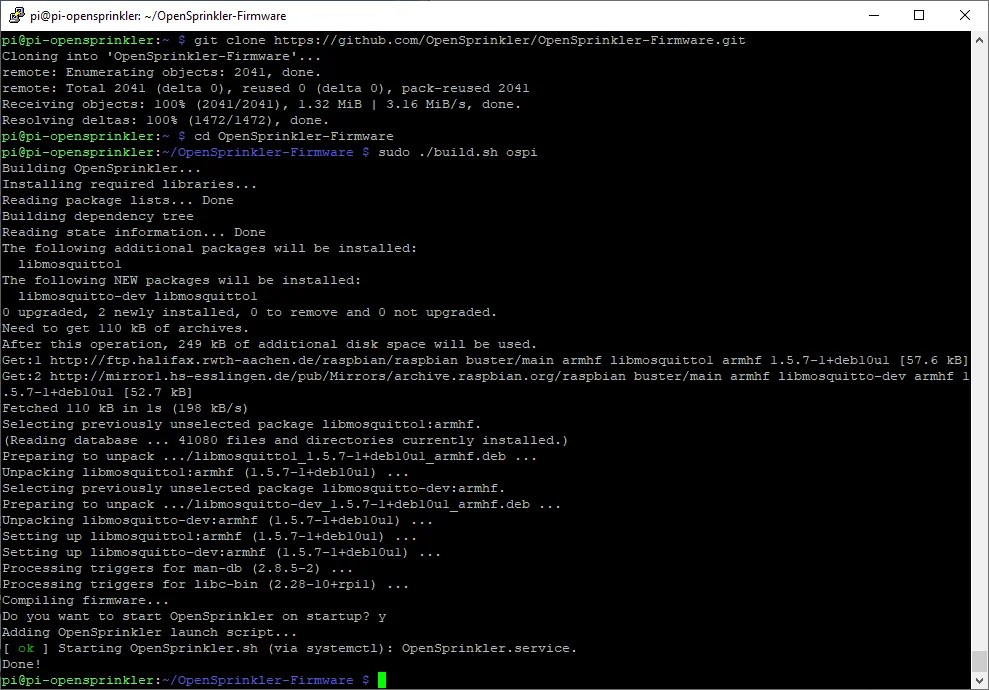
Answer the question about automatic startup with “y”.
That’s it! OpenSprinkler is now ready to use, and you can access the web interface at http://pi-opensprinkler:8080 (adjust the hostname accordingly).
Basic Configuration
In the web interface, first enter the default password “opendoor”:

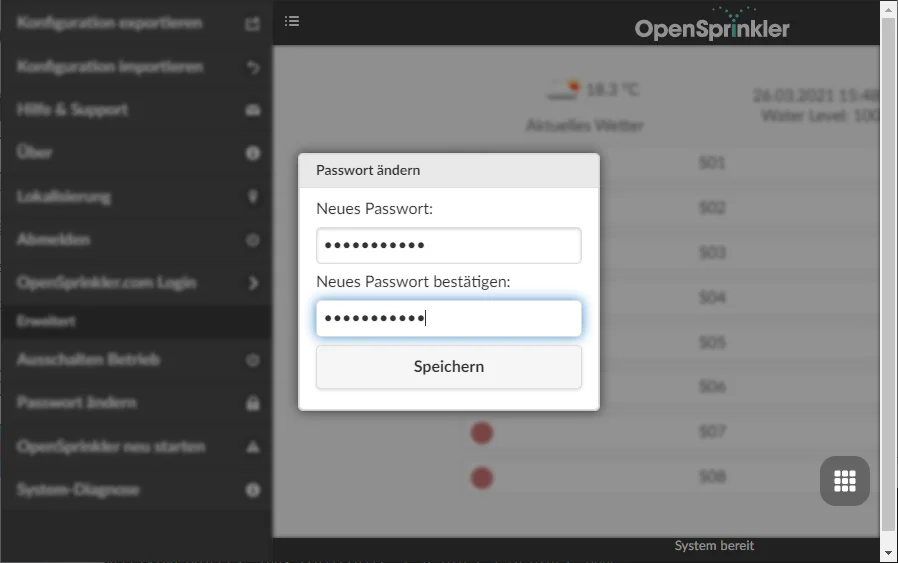
In the sidebar, you can change the password to a more secure value:
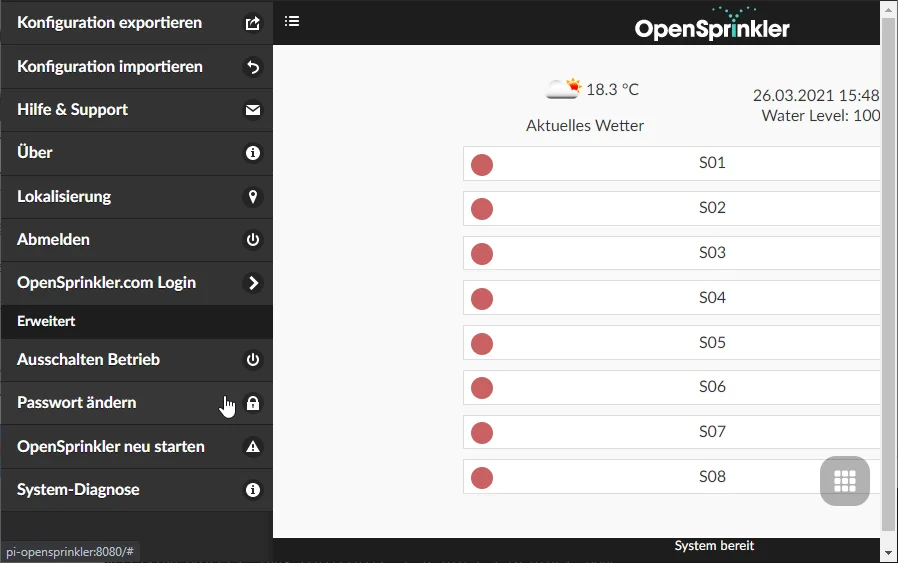
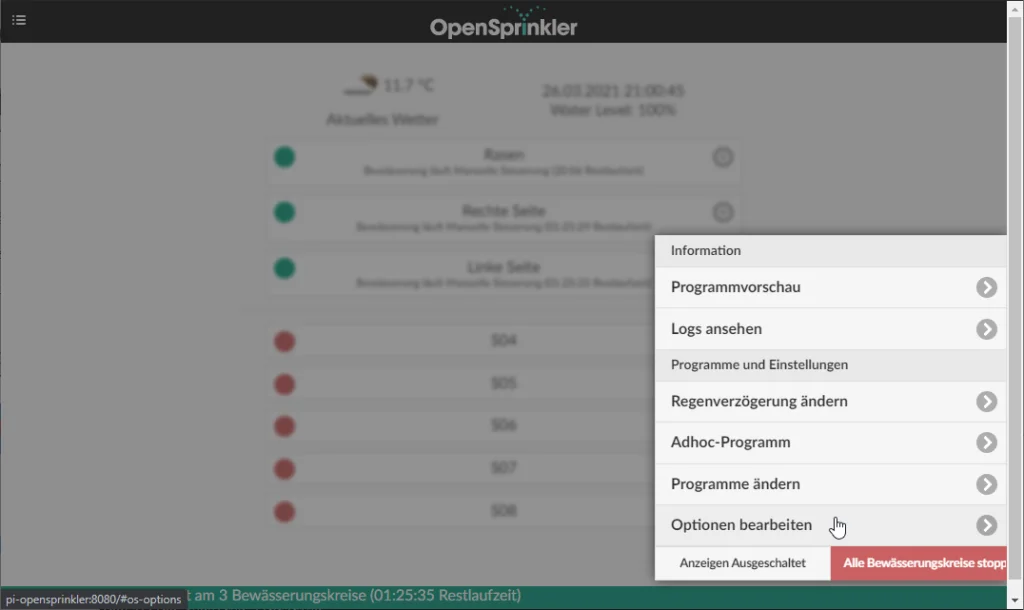
Through the dot menu in the bottom right, you can access options for additional settings:
Updating
To update your OpenSprinkler version, you should first back up your settings through the web interface, as they might be lost during the update.
Perform the update after logging in via SSH as follows:
cd /home/pi/OpenSprinkler-Firmware
git pull
sudo ./build.sh ospi
sudo /etc/init.d/OpenSprinkler.sh restart
Uninstallation
To completely remove OpenSprinkler, execute these commands via SSH:
sudo /etc/init.d/OpenSprinkler.sh stop
sudo rm /etc/init.d/OpenSprinkler.sh
sudo update-rc.d OpenSprinkler.sh remove
Conclusion
Installing OpenSprinkler on a Raspberry Pi is surprisingly easy and quick. The system offers a powerful and flexible irrigation control solution that integrates perfectly into smart home environments.
I welcome your comments on whether this post was helpful. Feel free to write if you have questions or if anything remains unclear. Or share with us what exciting automation projects you’ve implemented with it!
No Comments? No Problem.
This blog doesn't support comments, but your thoughts and questions are always welcome. Reach out through the contact details at the bottom of the page.
Support Me
If you found this page helpful and want to say thanks, you can support me here.